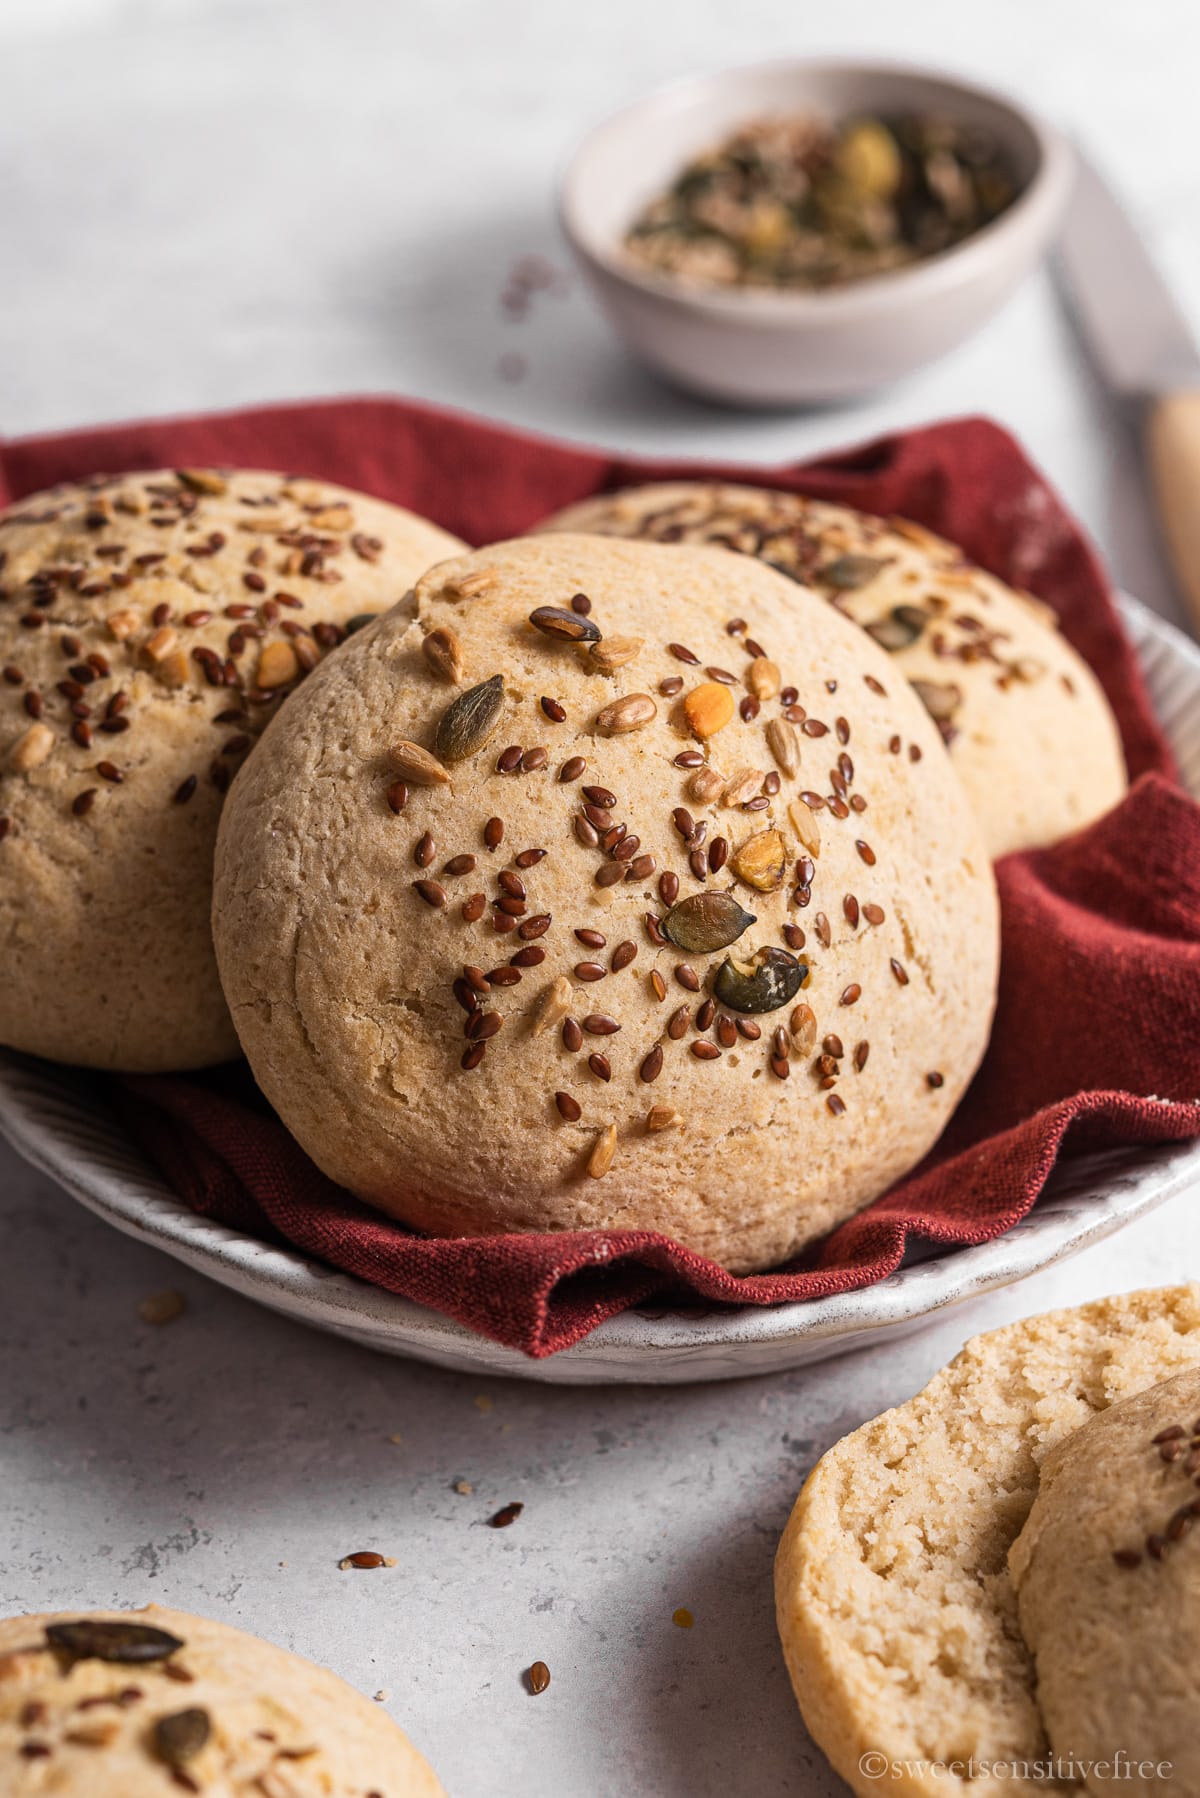
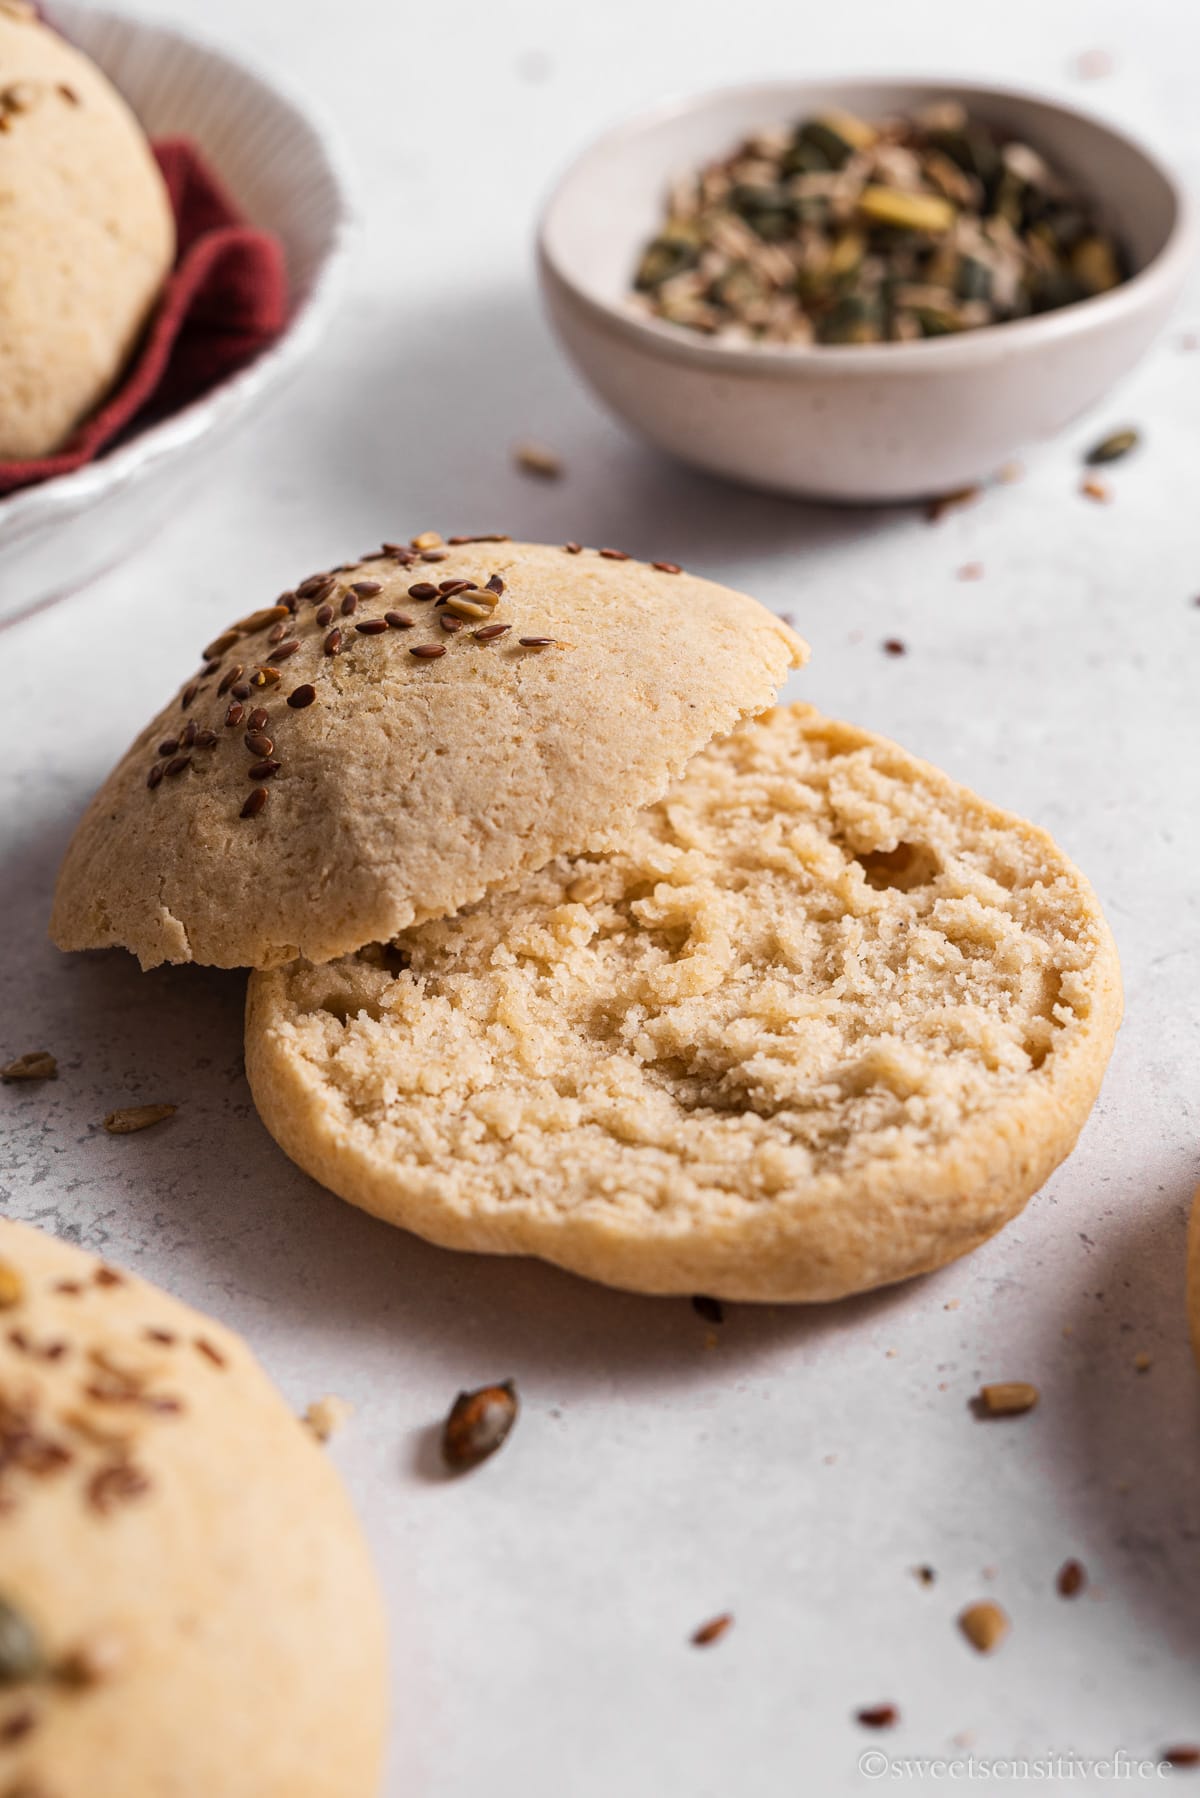
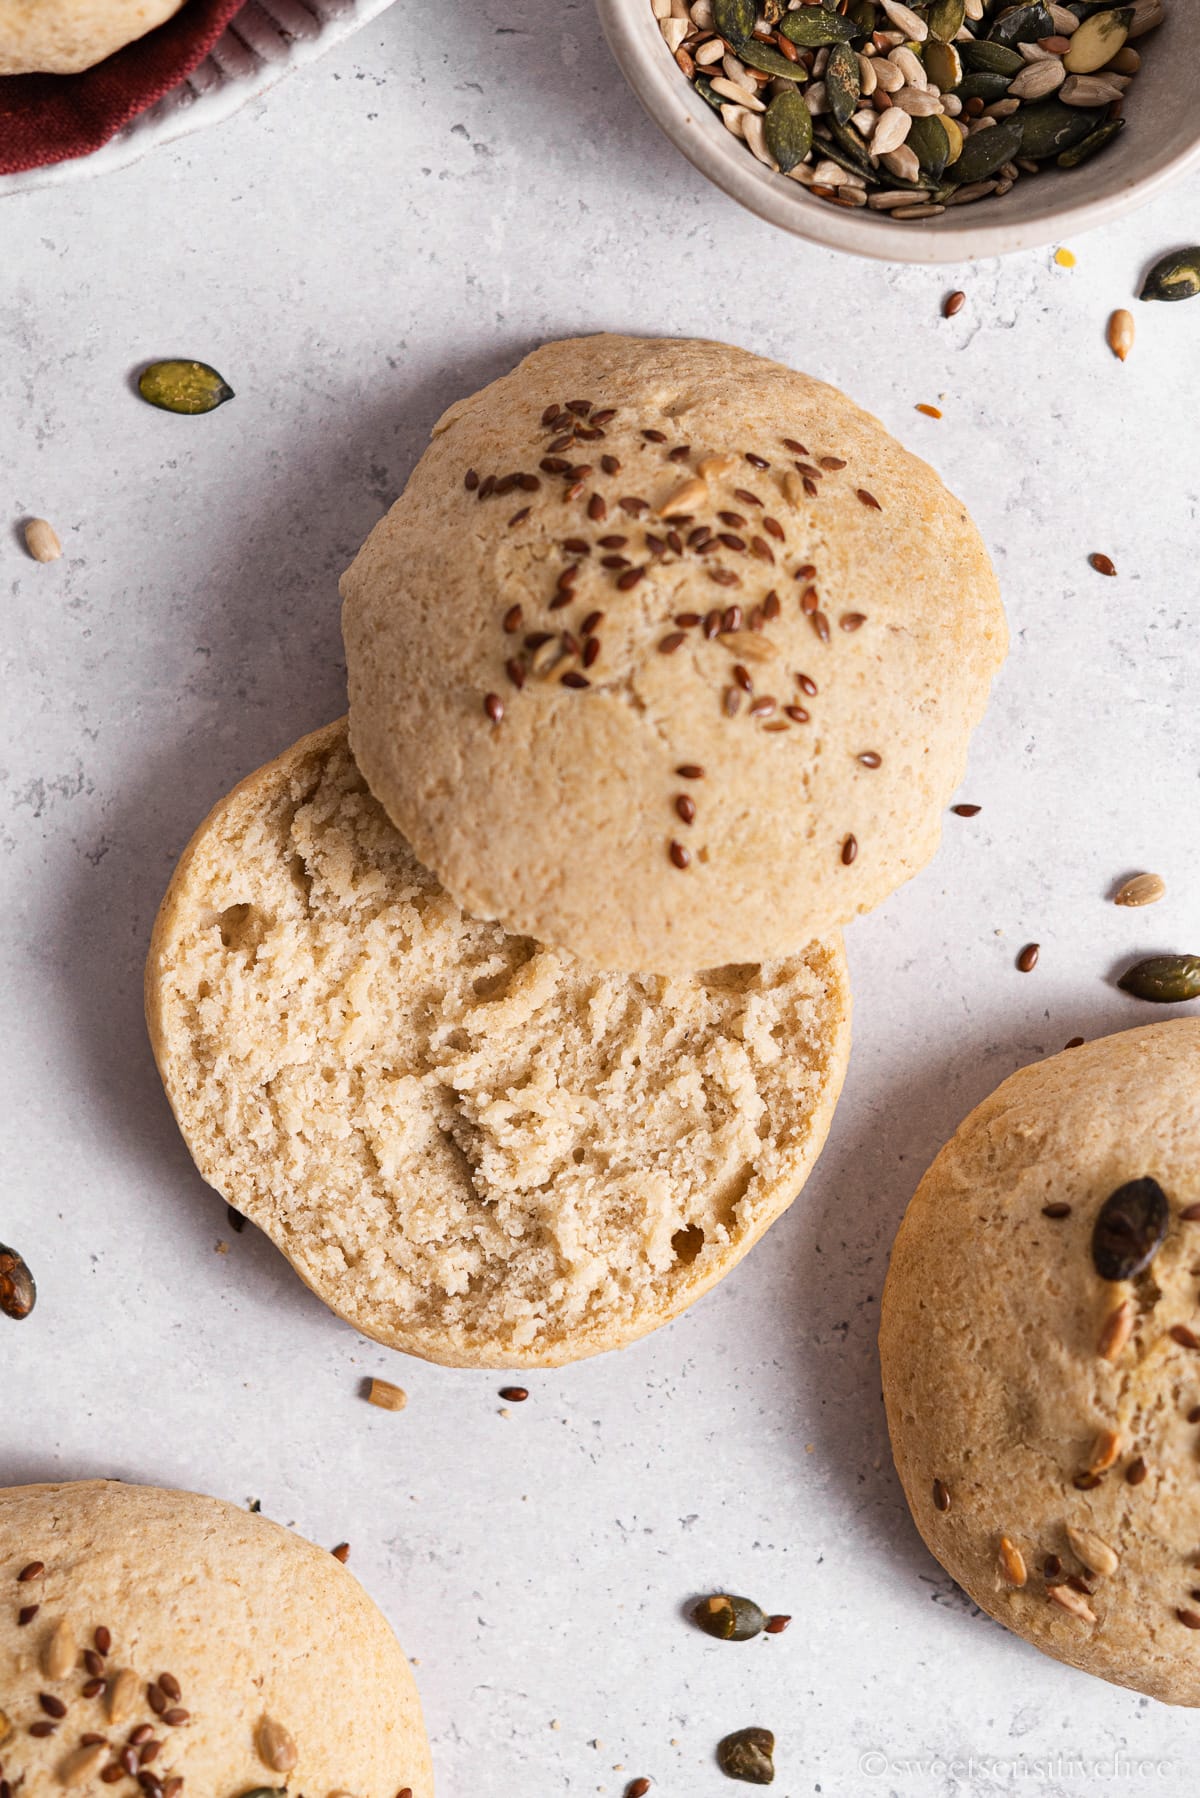
Making gluten free no yeast buns at home is quick and easy! These gluten free hamburger buns are ready in less than one hour, soft inside with a nice crispy crust outside. And not only they are yeast free but vegan too!
Jump to:
This gluten free buns are perfect for hamburgers and sandwiches.
They are made without yeast and contain no butter and no eggs, for fully gluten free vegan buns!
Ingredients
- Brown and white rice flour are the base for this recipe, though you can substitute a small amount with other flours, like millet or buckwheat, for a more rustic flavor
- Potato starch, or other gluten free starches, like corn or rice starch
- Psyllium husk, this is a fundamental ingredient that works as a binder and also makes the dough softer yet easy to work.
- Baking powder, the one you use for cakes, but you can also replace it with a mix of baking soda and an acidic agent, like lemon juice, cream of tartar or vinegar
- Water, olive oil and salt
- Seeds for decoration, of course they are optional, but they add a nice extra crunch!
Instructions
The steps for this gluten free hamburger buns recipe are few and simple:
- in a medium bowl mix psyllium husk and water and let rest a couple minutes until it becomes gelatinous
- in a bowl weigh brown and white rice flour, potato starch, baking powder, salt and mix well with a whisk or a spoon
- in a small jar or bowl mix oil and water
- add the psyllium husk gel and oil-water mix to the dry ingredients

- mix with a fork, incorporating as much of the liquids as possible, until you get a crumbly dough
- move the dough onto a worktop floured with white rice flour
- work the dough with your hands, squeezing the ingredients together and kneading for a few minutes, until the dough is uniform and smooth and it holds a round shape

- flour the worktop and roll the dough ball into a cilinder-ish shape then cut it into 5 equal pieces
- lightly oil a baking sheet, then shape each piece of dough into round buns and place them on the baking sheet at least half inch apart
- lightly brush with olive oil each bun and add seeds on top (if desired), lightly tapping on them to make them stick to the bun

- bake and let them cool down for 10 minutes before slicing
- enjoy still warm, or - once completely cooled down - store them in a airtight container and enjoy the next day too (best after heating them up)
- alternatively, freeze them for future use (you can already slice them halfway orizontally so that you can easily heat them up in the toaster)
Tips and subsitutions
I have not tested the recipe with other flours so far, so I can not guarantee the correct outcome for the recipe using other ingredients. You can replace a small part of the brown rice flour with millet or buckwheat flour for more rustic flavor.
If you can not use storebought baking powder, you can replace it with a teaspoon of baking soda + either 2 teaspoons of cream of tartar OR lemon juice OR vinegar
After cooling down completely, store them in airtight container for a couple days.
These gluten free burger buns keep soft for a couple days. Unfortunately gluten free baked goods often tend to dry up more quickly than "gluten" ones.
Heat them up in the microwave or the toaster to enjoy them warm and crispy.
You sure can! Once they are completely cooled down you can freeze them. Slice them halfway beforehand, so that you can heat them up more easily.
If you are using these buns the day after for a sandwhich, maybe for lunch break, my advice is to spread the inside with creamy ingredients like hummus or avocado, and maybe salad leaves or tomato slices.
Also, wrap the sandwiches in parchment paper and alluminum foil, so that the buns keep soft for longer.
Baking in grams
I cook and bake in grams as they are more accurate (than cups) when measuring ingredients. This is especially important when it comes to gluten free and vegan recipes.
Also, I weigh both dry and wet ingredients in grams and most of the time I share one- or two-bowl recipes, to make everything easier for you.
A simple affordable kitchen scale is definitely a useful and worthy investment for your gluten free cooking.
So you will simply need to place the bowl on the scale and weigh ingredients as you go!
More yeast free recipes
If you are searching more gluten free yeast free bread recipes, check these out!
I really hope you will enjoy this gluten free no yeast buns! They sure make my food-sensitive boyfriend happy when we have a burger night and they are also perfect for a sandwich to bring along during a trip or a day out!
If you make this recipe or have questions, leave me a comment down here! And a 5 star rating if you have loved it would help me grow the blog 😉
For all the updates, follow me on Pinterest and Instagram and tag me if you make this or any of my recipes! I absolutely LOVE to see what you make and share it in my stories!
Ciao!
Sonia
📖 Full Recipe

Gluten free No Yeast Burger Buns (Vegan)
Equipment
- kitchen scale
- 2 medium bowls
- 1 bowl
- 1 fork
- 1 baking sheet
Ingredients
- 5 teaspoons psyllium husk
- 200 grams water (to mix with the psyllium husk)
- 150 grams gluten free potato starch
- 300 grams gluten free brown rice flour (you can substitute 50 grams with another flour, like millet or buckwheat, for a more rustic flavor)
- 50 grams gluten free white rice flour
- 1 tablespoon (homemade) baking powder*
- 1 teaspoon salt
- 1 tablespoon olive oil (+ extra for brushing the buns)
- 200 grams water (for the dough)
- mixed seeds for decoration (optional)
Instructions
- pre-heat oven at 190 C / 370 F
- in a medium bowl mix psyllium husk and 200 grams water and let rest a couple minutes until it becomes gelatinous
- in a bowl weigh brown and white rice flour, potato starch, baking powder, salt and mix well with a whisk or a spoon
- in a small jar or bowl mix oil and remaining 200 grams water
- add the psyllium husk gel and oil-water mix to the dry ingredients and mix with a fork, incorporating as much of the liquids as possible, until you get a crumbly dough
- move the dough onto a worktop floured with white rice flour
- work the dough with your hands, squeezing the ingredients together and kneading for a few minutes, until the dough is uniform and smooth and it holds a round shape
- flour the worktop and roll the dough ball into a log-ish shape then cut it into 5 equal pieces
- lightly oil a baking sheet, then shape each piece of dough into round buns and place them on the baking sheet at least half inch apart
- lightly brush with olive oil each bun and add seeds on top (if desired), lightly tapping on them to make them stick to the bun
- bake for 30 minutes, until the top and buttom of the buns are lightly golden
- let them cool down for 10 minutes before slicing
- enjoy still warm, or - once completely cooled down - store them in a airtight container and enjoy the next day too (best after heating them up)
- alternatively, freeze them for future use (you can already slice them halfway orizontally so that you can easily heat them up in the toaster)



Morgan says
Can I use flax seed in replacement for the psyllium husk powder?
Sweet Sensitive Free says
Hi! I haven't tested the recipe with flax seeds instead of psyllium so I can't really say if it would work and what doses you should use, sorry
Manal says
H Sonia,
Firstly, thank you for a great recipe.
I made these with white rice flour as I didn't have brown rice flour and 50g of buckwheat flour as recommended but unfortunately they turned out very dry and hard on the outside. The inside was softish but not the soft hamburger buns in the pics.
Could this be because I used all white rice flour instead of brown rice flour?
Sweet Sensitive Free says
Hi, white rice flour does make a difference, it absorbs liquids in a different way and makes doughs definitely more dense, so yes, that might be the reason why the buns turned out less soft.
Linda says
What can be used instead of psyllium husk?
Sweet Sensitive Free says
Hi! If you can't have psyllium, you could try making this buns that use flaxseeds https://sweetsensitivefree.com/gluten-free-bread-buns/
Jenna says
I love these buns, I make them weekly, they are perfect for my lunchbox. Thank you for the recipe!
Sue Glover says
Hi, I’m desperate to find a yeast and dairy free bread that works. I tried these buns for the first time this morning, but swapped tapioca starch for the potato starch as it’s what I have. Would that have made them very dry, dense and a bit cloying in the mouth? I also find the baking powder taste a bit overpowering. What do you suggest I do to improve the overall success please. Thanks
Sweet Sensitive Free says
Hi, tapioca shouldn't be a major issue, actually it should make the buns softer. I find it strange they came out so dry, I make them often and they're always soft. I guess it can depend on the specific flours you are using. You could try adding a few more spoonfuls of water and oil, as long as the dough is still dense enough to shape buns out of it. As for the baking powder taste, I never tasted it, I use my own https://sweetsensitivefree.com/homemade-gluten-free-baking-powder/
If you'd like to try it, there's also this yeast free focaccia on the blog: https://sweetsensitivefree.com/quick-gluten-free-yeast-free-focaccia/
Sue Gliver says
Hi, thanks for your response. I will try them again using a little more oil/water. I’ll also try making my own baking powder as suggested.