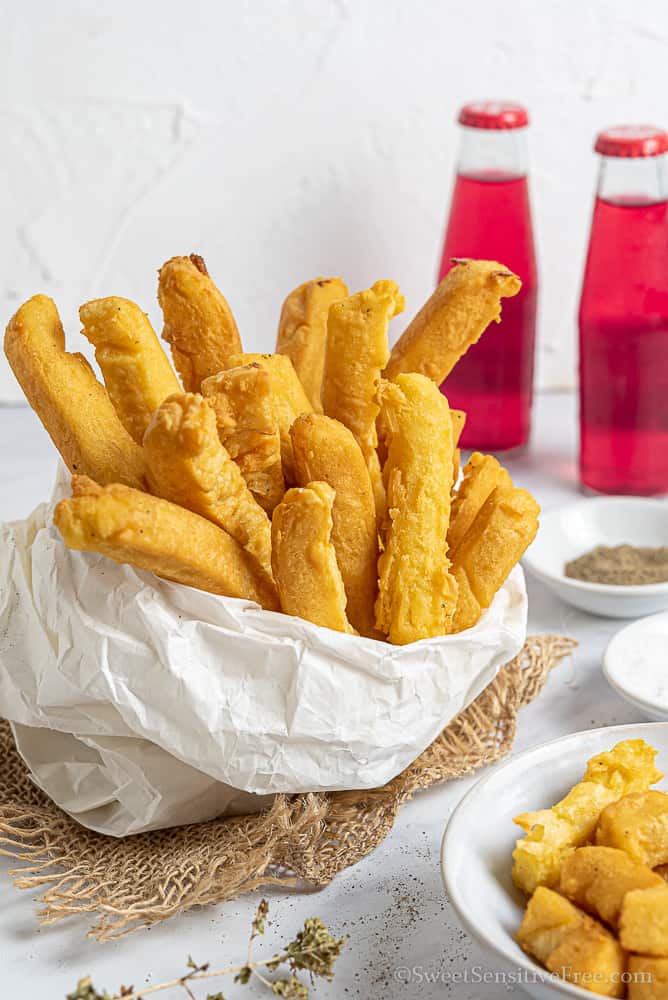
These delicious chickpea flour sticks have a variety of names, from simply chickpea fries, to panisse fries or chickpea flour french fries.
But no matter how you call them, these are one of the best vegan and gluten free appetizers to go with your aperitif or as finger food at your parties!
Looking for more gluten free vegan party snacks? Check out these 20 appetizer recipes!
This recipe was retested and updated in March 2022
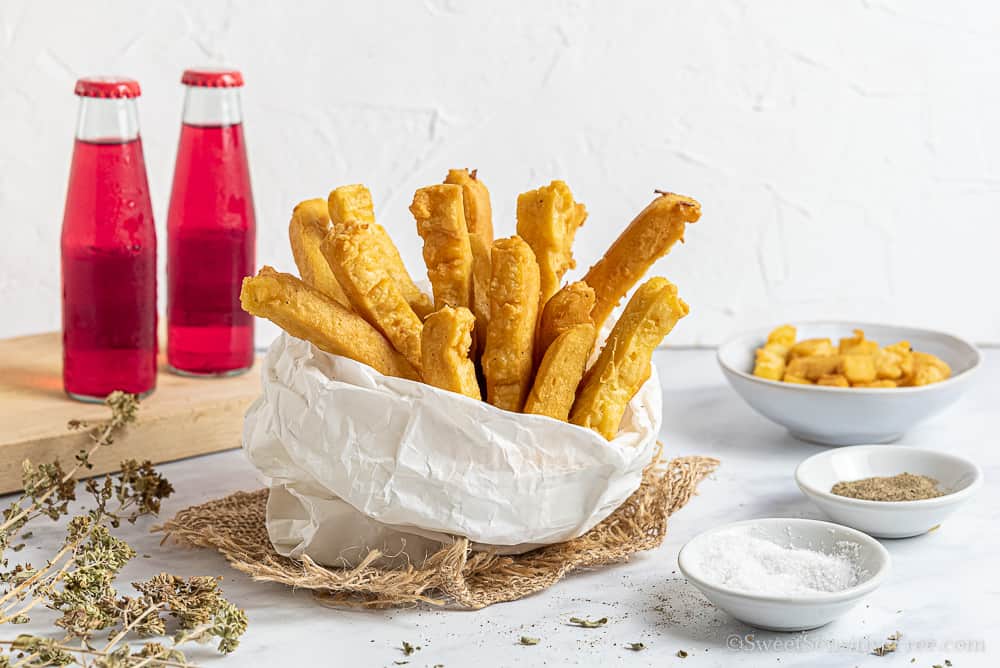
Chickpea flour fries are a traditional Italian recipe, specifically from Liguria, the north-western region I'm from, where it's called "panissa".
Similar recipes are from Sicily, where it's called "panelle" and also from the South of France, where it's called "panisse".
I love making this crispy chickpea fries recipe, especially because my gluten-sensitive boyfriend adores them! He is from north-eastern Italy and the first time he tried our panissa he fell in love with it!
Ingredients
This chickpea fries recipe literally needs 4-5 ingredients:
- chikpea flour, make sure it gluten free
- water, tap water will be fine
- salt, you can omit it in the batter and add it once the fries are cooked (or omit it completely, if you prefer)
- black pepper or other spices to taste
- seed oil for frying or olive oil for the baked version
Check the recipe card below for all the measurements and directions.
How to make chickpea fries
Making chickpea panisse fries is very easy:
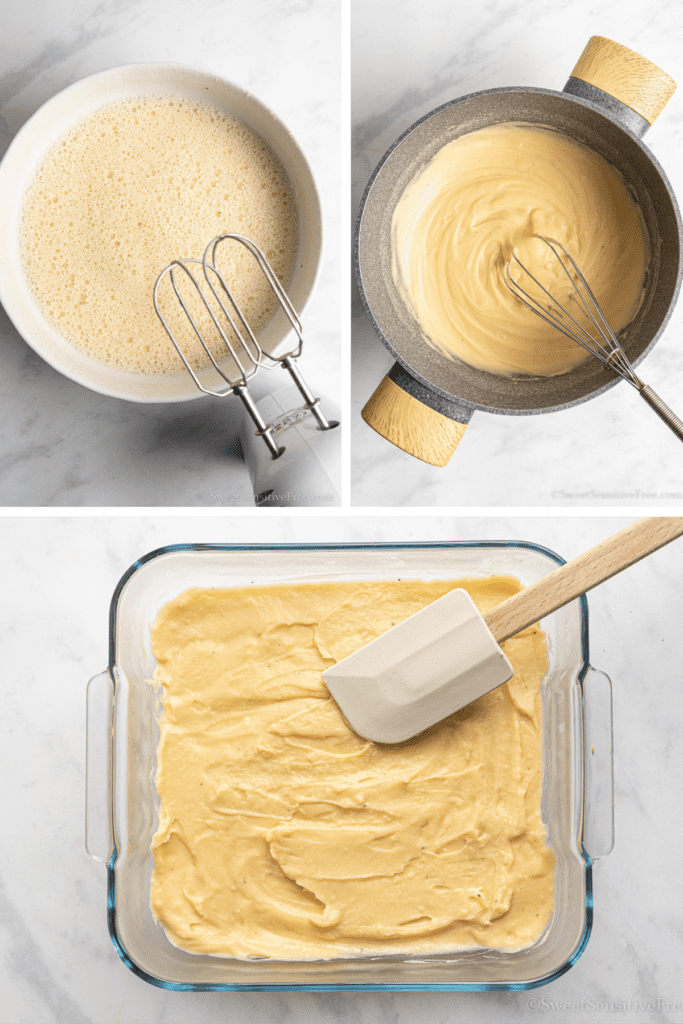
- start by thouroughly mixing the water with the chickpea flour, salt & pepper, until it’s a smooth mix with no clumps
- put the mix in a sauce pan on low heat and keep stirring for 10-15 minutes, or until the batter gets firmer and clumps start to form
- now pour the batter in a pan and spread it out, at least one inch thick or more
- let it cool down for a while then into the fridge for at least an hour
- when a couple hours have passed, pour at least 2 inches of seed oil in a small, tall sauce pan, and while it’s heating up (to know it’s ready insert a toothpick, if the oil makes tiny bubbles around it, it’s time to fry) cut the “panissa” into half inch sticks and fry them 4-5 at a time, until they get golden
- lay them on kitchen paper to remove the oil in excess, add a pinch of salt, paper or other spices if you want and serve them still warm and crispy 😉
And here's how to make baked chickpea fries:
- pre-heat your oven at 200°C / 400 F
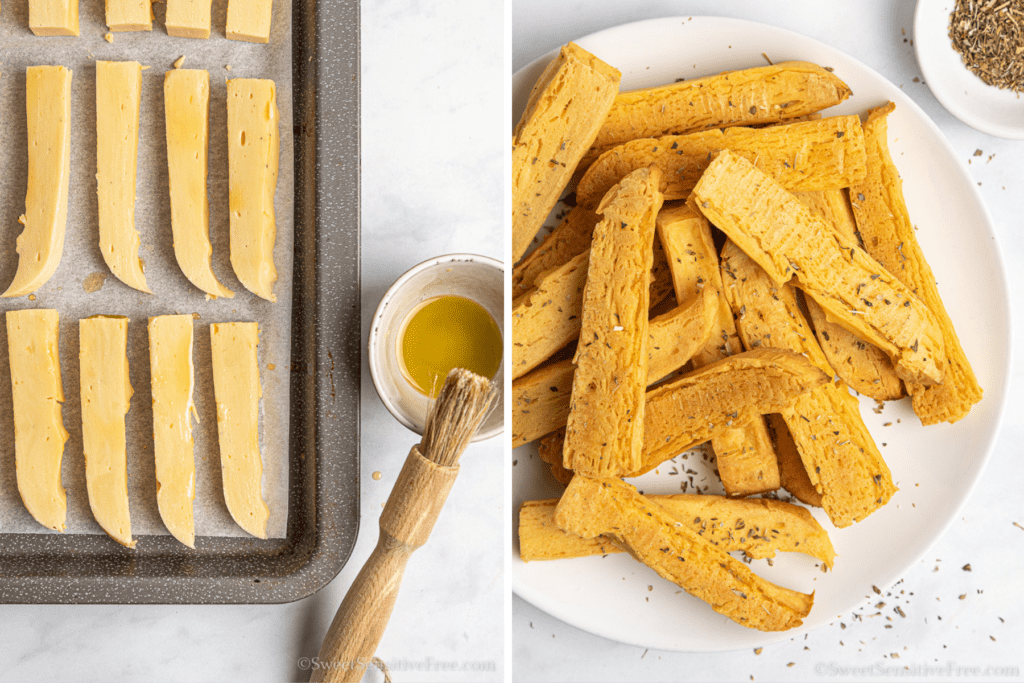
- cut the solidified batter into sticks
- place them on a baking sheet covered in parchment paper and brush some olive oil on the sticks
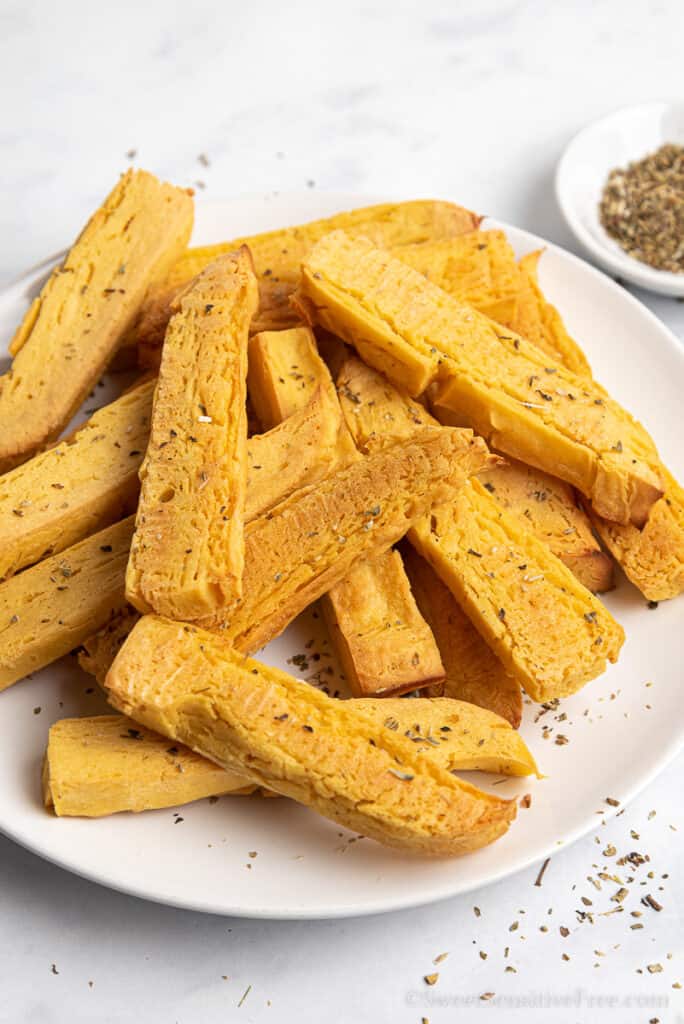
- turning them around from time to time, bake them until they are nice and golden on all sides.
Full recipe in the card below
Questions and Tips
They are definitely packed with plant-based proteins, but if you want a healthy version, go for the baked ones.
The basic version only has salt, I like to add a pinch of pepper too, but if you love spices you can add paprika, or even curry for an exotic twist to the recipe.
Once fried/baked, you can also season them with dried oregano or chopped fresh parsley.
You can serve these homemade chickpea fries with plain mayonnaise, aioli or a yogurt based sauce, like tzatziki.
You can, but if you want to enjoy them still crispy, they are best served freshly made and still warm.
If you make this recipe or have questions, leave me a comment down here! And a 5 star rating if you have loved it would help me grow the blog 😉
For all the updates, follow me on Pinterest and Instagram and tag me if you make this or any of my recipes! I absolutely LOVE to see what you make and share it in my stories!
Ciao!
Sonia
More ideas for savory gluten free vegan snacks and appetizers?
Check out these Herb Fritter Balls and these Veggie Muffins!
📖 Full Recipe
Chickpea Fries (Baked option) | Gluten free * Vegan
Equipment
- 1 bowl
- 1 non stick sauce pan for cooking the batter
- 1 whisk / hand mixer
- 1 (rectangular/square) baking pan or casserole dish
- 1 deep sauce pan for fried chickpea fries
- 1 baking sheet + parchment paper for baked chickpea fries
- 1 kitchen scale
Ingredients
- 150 gr (1 + ⅓ CUP) gluten free chickpea flour
- 500 gr (2 + ⅓ CUPS) water
- ½ teaspoon salt
- pinch of black pepper
- seed oil for frying (or olive oil for the baked option)
Instructions
For the fried version
- In a bowl, thouroughly mix the water with the chickpea flour, salt & pepper, until it’s a smooth batter with no clumps (you can either use a whisk or a hand mixer)
- Pour the mix in a non-stick sauce pan on low heat and keep stirring for 10-15 minutes, or until the batter gets firmer and few small clumps start to form (it should remind you of polenta)
- Now pour the batter in a pan or casserole and spread it out, into a half inch thick layer
- Let it cool down for a good 15 minutes then place it into the fridge for a couple hours
- Once the batter is completely cooled and solidified, pour at least 2 inches of seed oil in a small, deep sauce pan, and while it’s heating up (to know it’s ready insert a toothpick, if the oil makes tiny bubbles around it, it’s time to fry) cut the solidified batter into half inch wide sticks and fry them 4-5 at a time, until they get golden brown
- Place them on kitchen paper to remove the oil in excess, add a pinch of salt, pepper or other spices of your liking and serve still warm and crispy
For the baked version
- Heat your oven at 200° C / 400 F
- Cut the solidified and refrigerated chickpea batter into half inch wide sticks and place them on a baking sheet covered with parchment paper
- Brush them with olive oil
- Turning them around from time to time, bake them until they are nice and golden on all sides
- Serve still warm and crispy
Video
Notes
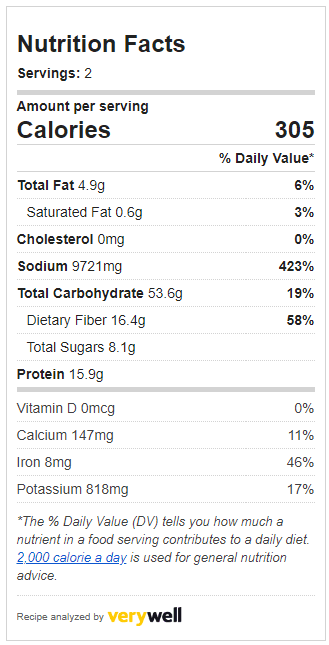 Please note that measurements in cups may be slightly different from the ones in grams, which is why the use of a kitchen scale is advised, for a correct outcome of the recipe.





Chiara says
Deve essere buonissima 😘
Chiara http://www.shesinfashionblog.com
SweetSensitiveFree says
Lo è! Da provare 😉 !