There's something incredibly satisfying about baking your own bread, and for those who need to avoid gluten, the challenge is even more rewarding. Today, we're diving into the world of gluten-free baking with a recipe for rustic bread that uses a homemade flour mix. This loaf is not only hearty and flavorful, but also has that perfect crusty exterior and soft, chewy interior that makes every bite a delight. Whether you're gluten-sensitive or just looking to try something new, this gluten-free rustic bread will become a staple in your kitchen.
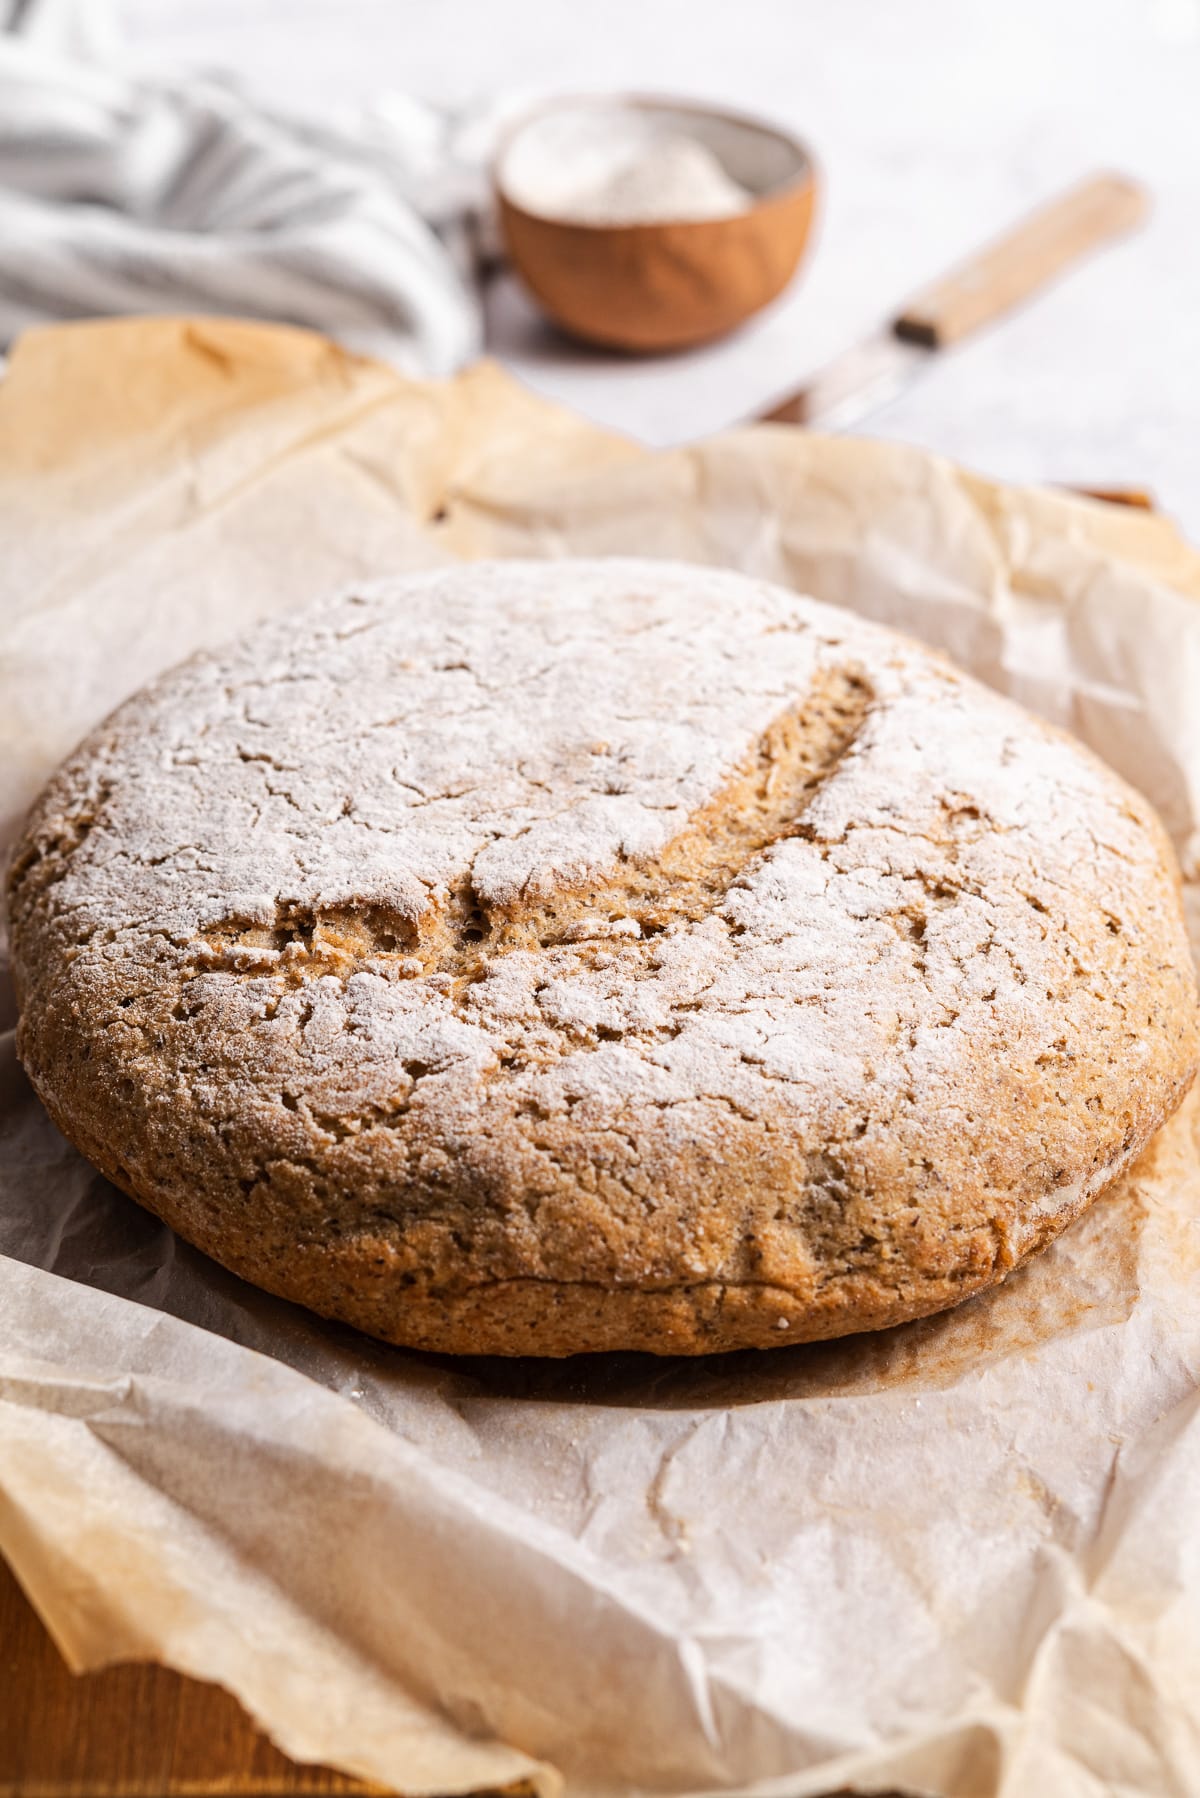
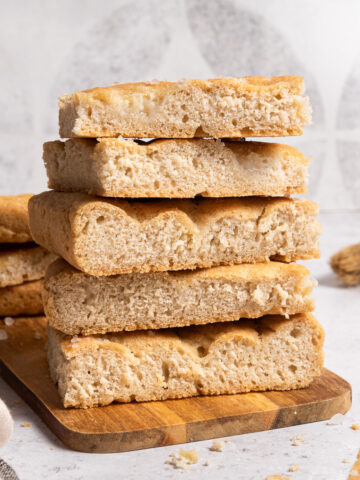
Rustic bread is a traditional, artisan-style loaf known for its hearty texture and robust flavor. Characterized by a thick, crusty exterior and a soft, chewy interior, rustic bread is often made with simple, natural ingredients and minimal processing. Its uneven shape and coarse crumb structure give it a charming, homemade appearance. This type of bread pairs perfectly with soups, stews, and cheeses and it tastes even better toasted!
This homemade rustic bread is:
- fully vegan, no eggs and dairy free
- without xantham gum
- made from scratch with a homemade gluten free flour blend
- corn free
- easy, little kneading required
Ingredients
As for most of my recipes, the ingredients to make this gluten free rustic bread are few and easy to source:
- gluten free brown rice flour and potato (or other gluten free) starch, as a base for the flour mix
- buckwheat flour to add that rustic flavor, but it can replaced with brown millet flour or quinoa flour too
- active dry yeast and sugar for the leavening part
- psyllium husk, to help the dough hold together and keep the shape
- salt, olive oil and water, the staples
Instructions
Here's how to make gluten free rustic bread from scratch at home:
- In a small bowl mix the psyllium husk with water and let sit for a few minutes
- In a large bowl mix flours, starch, sugar and yeast
- Add the psyllium gel, water, olive oil and mix with a fork, until most of the ingredients are incorporated
- Add salt and keep mixing

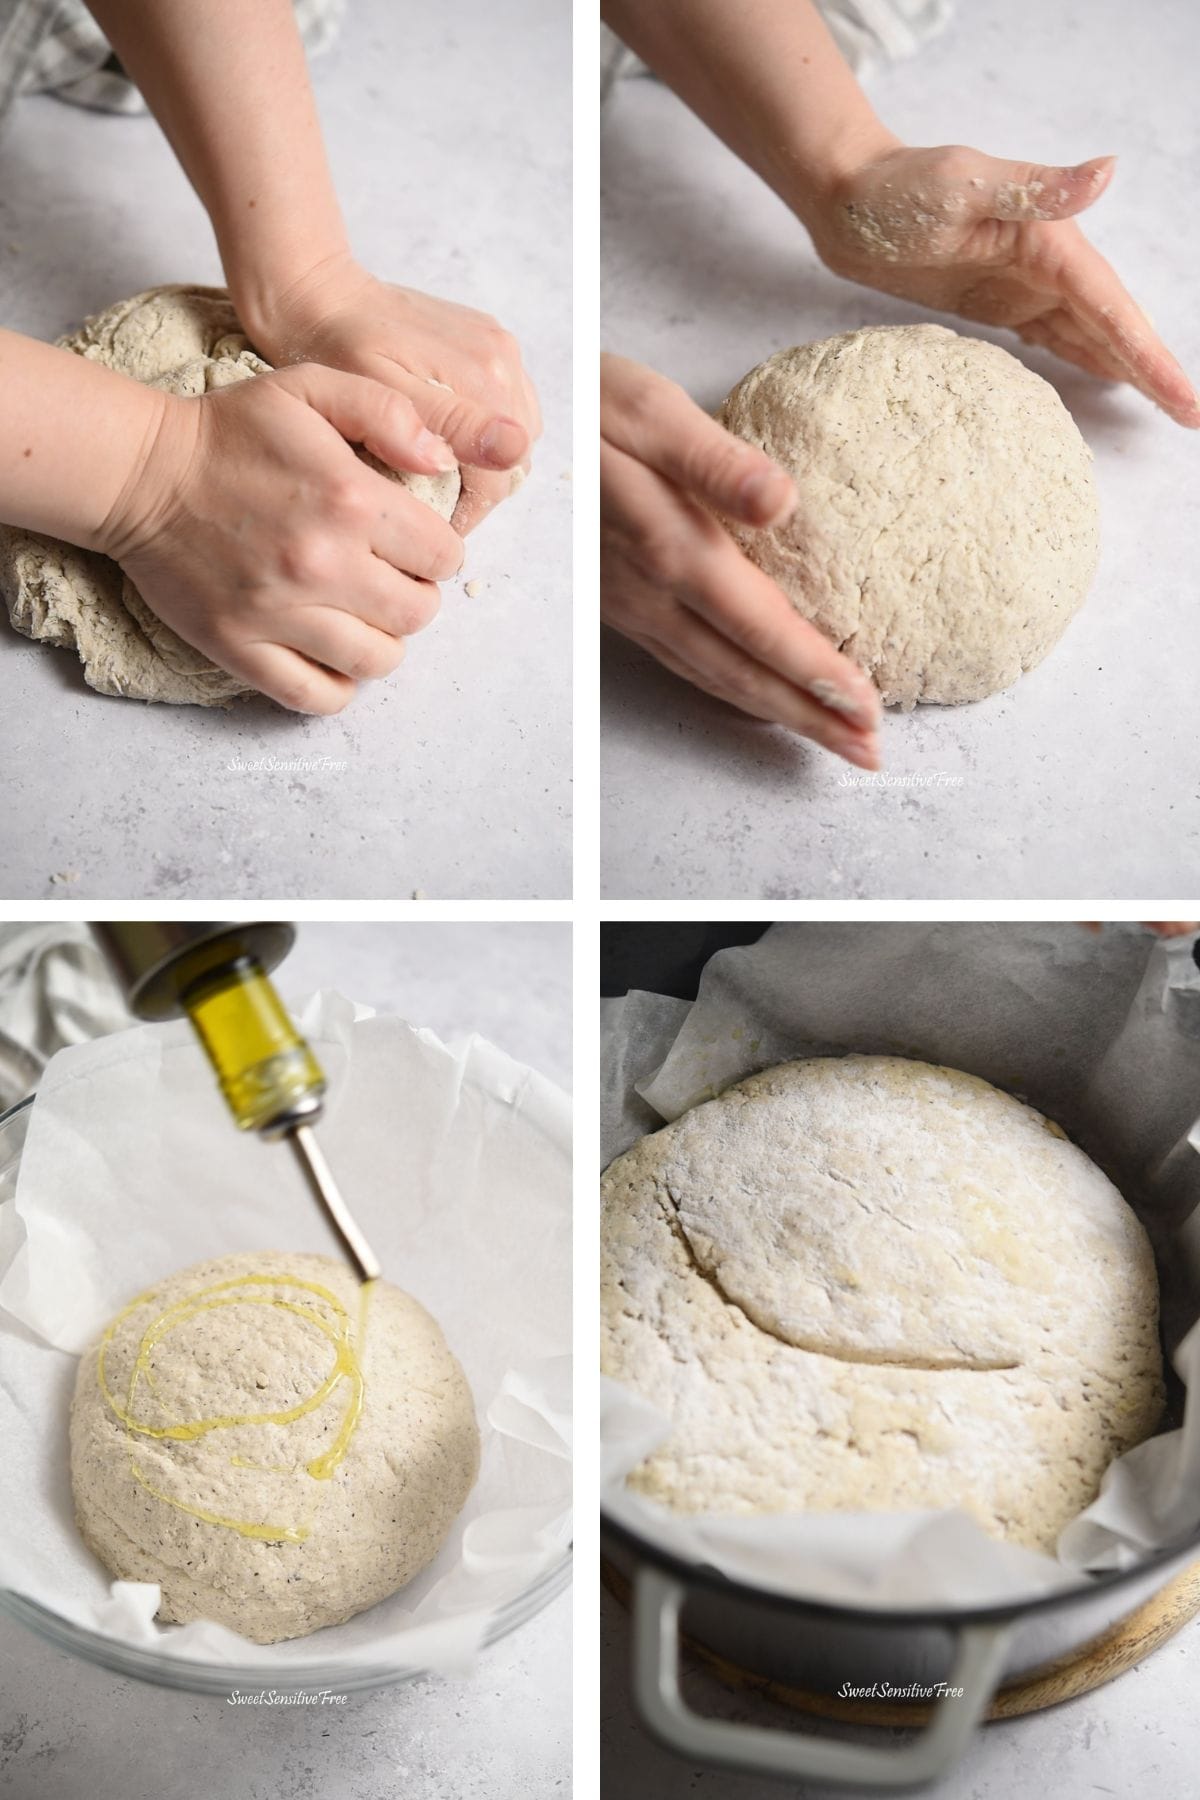
- Move the mixture on a worktop and work the dough with your hands, sqeezing and kneading until you obtain a firm ball of dough
- Place a sheet of parchment paper in a large bowl, place the dough ball on top and cover it with olive oil
- Cover with a napkin and let proof for 2 hours
- 30 minutes before the proof time ends, pre-heat oven at 200 C / 400 F and place the cast iron pot with lid on in the oven
- After the 30 minutes, lightly dust the dough with rice flour and incise the top of the love with a pointed knife
- Remove the cast iron from the oven, place the bread dough with the parchment paper inside the pot and cover with the lid
- Bake for 30 minutes covered and 15 minutes uncovered
- Once out of the oven, let cool down for 1 hour before slicing
- Store in an airtight container to keep soft for a couple days
- Alternatively, you can slice it, freeze it and toast it to enjoy warm and crispy when you like!

Baking in grams
I cook and bake in grams as they are more accurate (than cups) when measuring ingredients. This is especially important when it comes to gluten free and vegan recipes.
Also, I weigh both dry and wet ingredients in grams and most of the time I share one- or two-bowl recipes, to make everything easier for you.
A simple affordable kitchen scale is definitely a useful and worthy investment for your gluten free cooking.
So you will simply need to place the bowl on the scale and weigh ingredients as you go!
More gluten free bread recipes:
If you make this recipe or have questions, leave me a comment down here! And a 5 star rating if you have loved it would help me grow the blog 😉
For all the updates, follow me on Pinterest and Instagram and tag me if you make this or any of my recipes! I absolutely LOVE to see what you make and share it in my stories!
Ciao!
Sonia
📖 Full Recipe

Gluten Free Rustic Bread (Homemade Flour Mix)
Equipment
- kitchen scale
- cast iron pot
- large bowl
- small bowl
- parchment paper
Ingredients
- 5 teaspoons psyllium husk
- 200 grams water (to be mixed with the psyllium husk)
- 150 grams potato or other gluten free starch
- 300 grams gluten free brown rice flour
- 50 grams buckwheat flour (or brown millet, quinoa, amaranth, sorghum flour)
- 1 tablespoon sugar
- 7 grams active dry yeast (gluten free) (1 sachet)
- 1 tablespoon olive oil (+ extra to cover the dough ball)
- 190 grams water (for the dough)
- 1 teaspoon salt
- 1 tablespoon white rice flour to dust the dough before baking
Instructions
- In a small bowl mix the psyllium husk with water and let sit for a few minutes
- In a large bowl mix flours, starch, sugar and yeast
- Add the psyllium gel, water, olive oil and mix with a fork, until most of the ingredients are incorporated
- Add salt and keep mixing
- Move the mixture on a worktop and work the dough with your hands, sqeezing and kneading until you obtain a firm ball of dough
- Place a sheet of parchment paper in a large bowl, place the dough ball on top, drizzle with olive oil and spread with your hand or a brush
- Cover with a napkin and let proof for 2 hours
- 30 minutes before the proof time ends, pre-heat oven at 200 C / 400 F and place the cast iron pot with lid on in the oven
- After 30 minutes, lightly dust the dough with rice flour and incise the top of the dough with a pointed knife
- Remove the cast iron from the oven, place the bread dough with the parchment paper inside the pot and cover with the lid
- Bake for 30 minutes covered and 15 minutes uncovered
- Once out of the oven, let cool down for 1 hour before slicing
- Store in an airtight container to keep soft for a couple days
- Alternatively, you can slice it, freeze it and toast it to enjoy warm and crispy whenever you like!



Leave a Reply