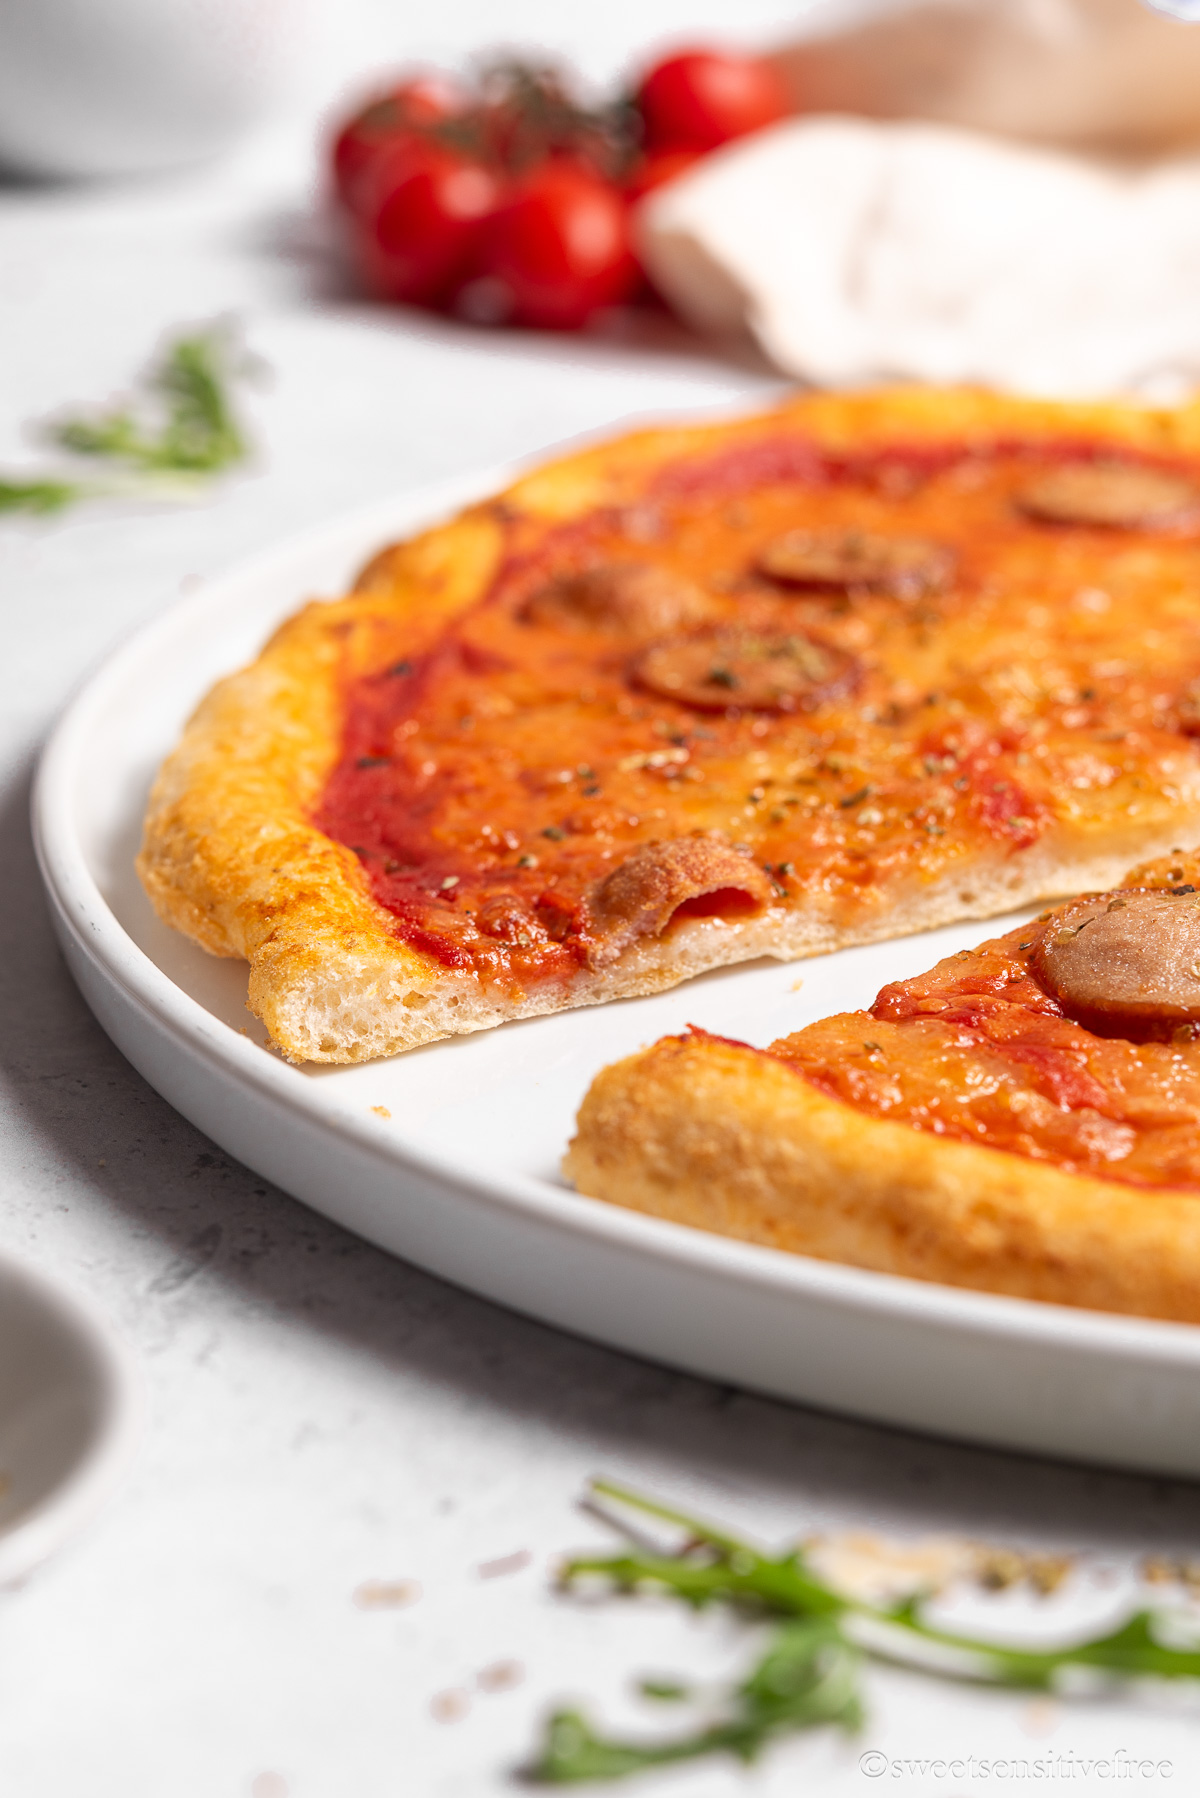
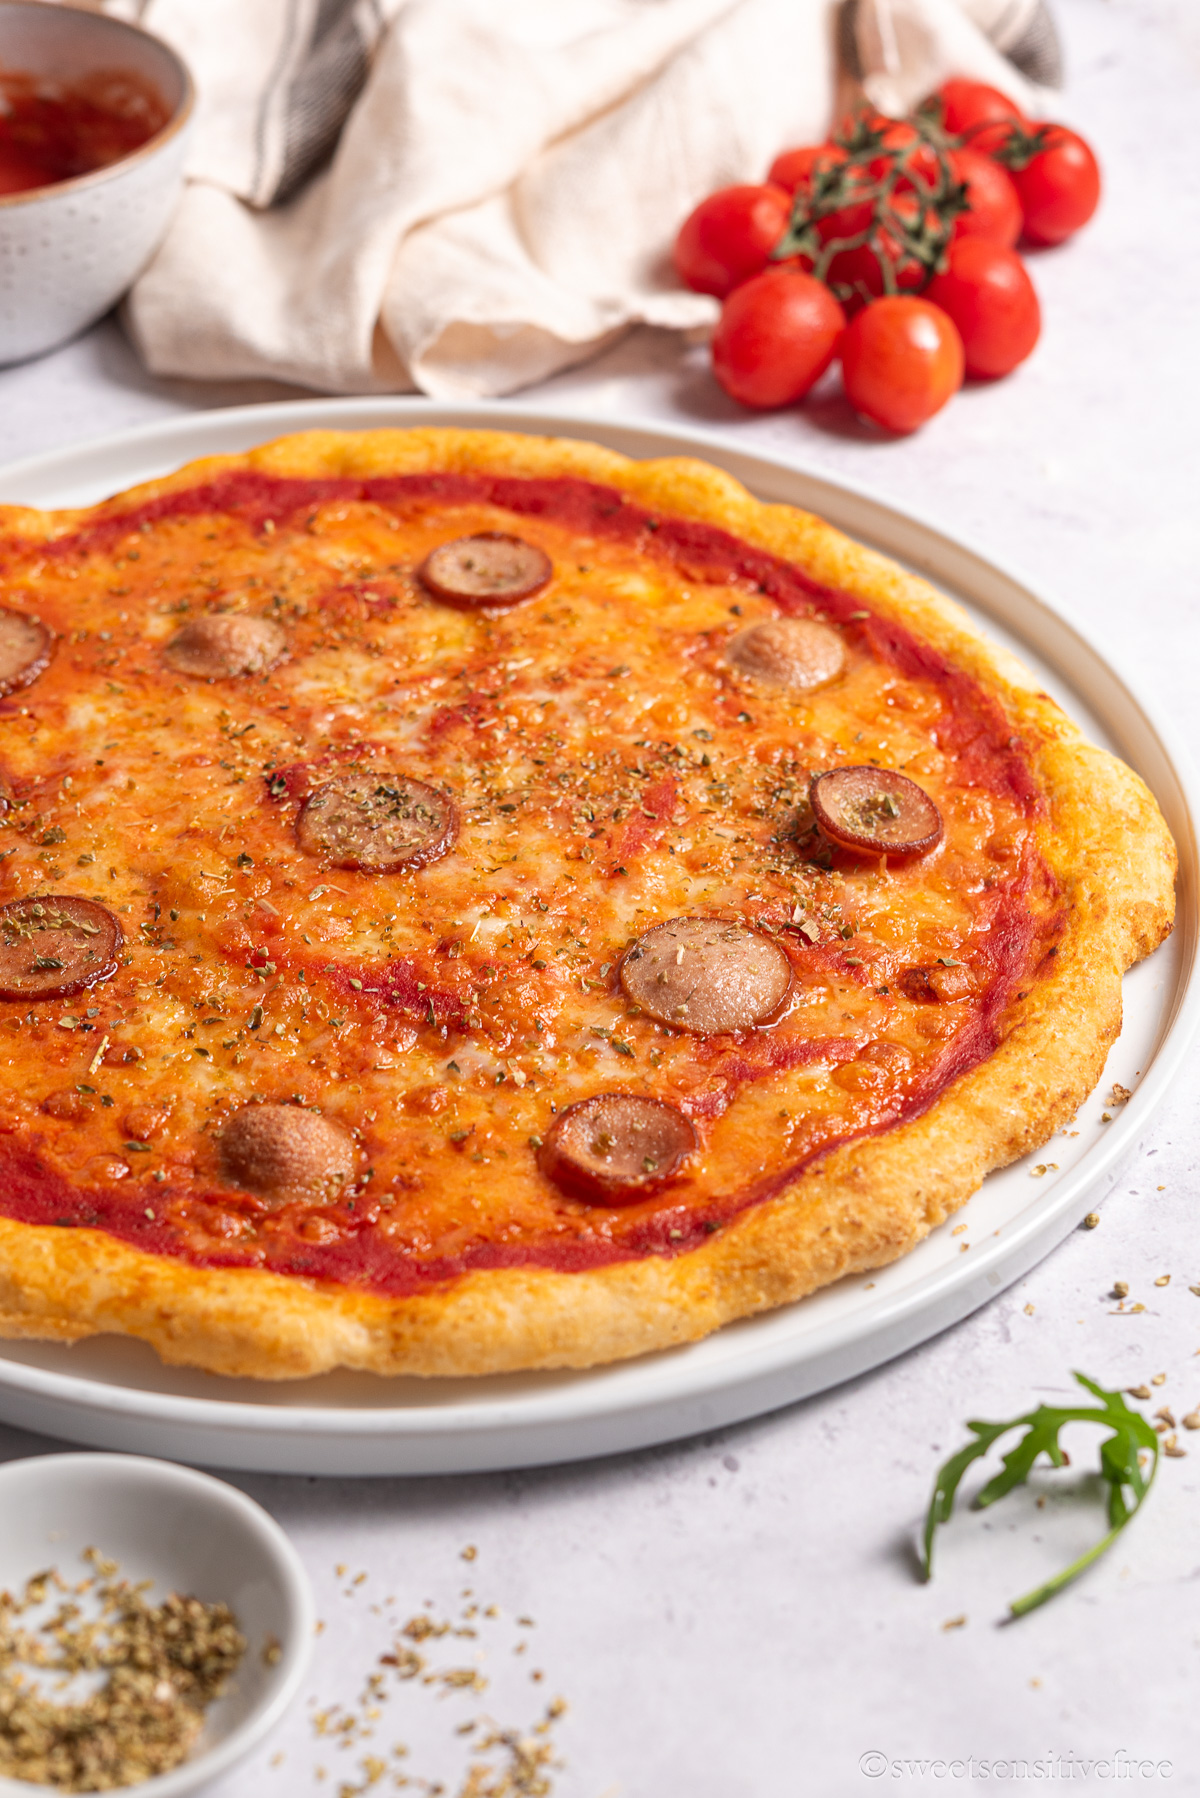
Welcome to the ultimate guide for crafting the perfect thin and crispy gluten-free pizza crust that will satisfy your pizza cravings and bring a delightful crunch to every bite! No more compromising on texture or flavor, this recipe will prove that achieving a golden gluten free pizza base with crispy edges is not only possible but downright delicious. So, preheat your ovens and get ready to enjoy gluten free pizza like at pizzeria!
Jump to:
If you love all the things pizza, you may want to try these recipes too:
Why you will love this pizza!
This homemade gluten free pizza dough is:
- made with a homemade mix of gluten free flours, no specific commercial blends needed
- made with psyllium husk and xanthan gum to obtain a soft and lightly elastic dough
- easily made from scratch and little kneading required
- no egg and no dairy, for a completely gluten free vegan pizza crust that you can top with your favorite ingredients
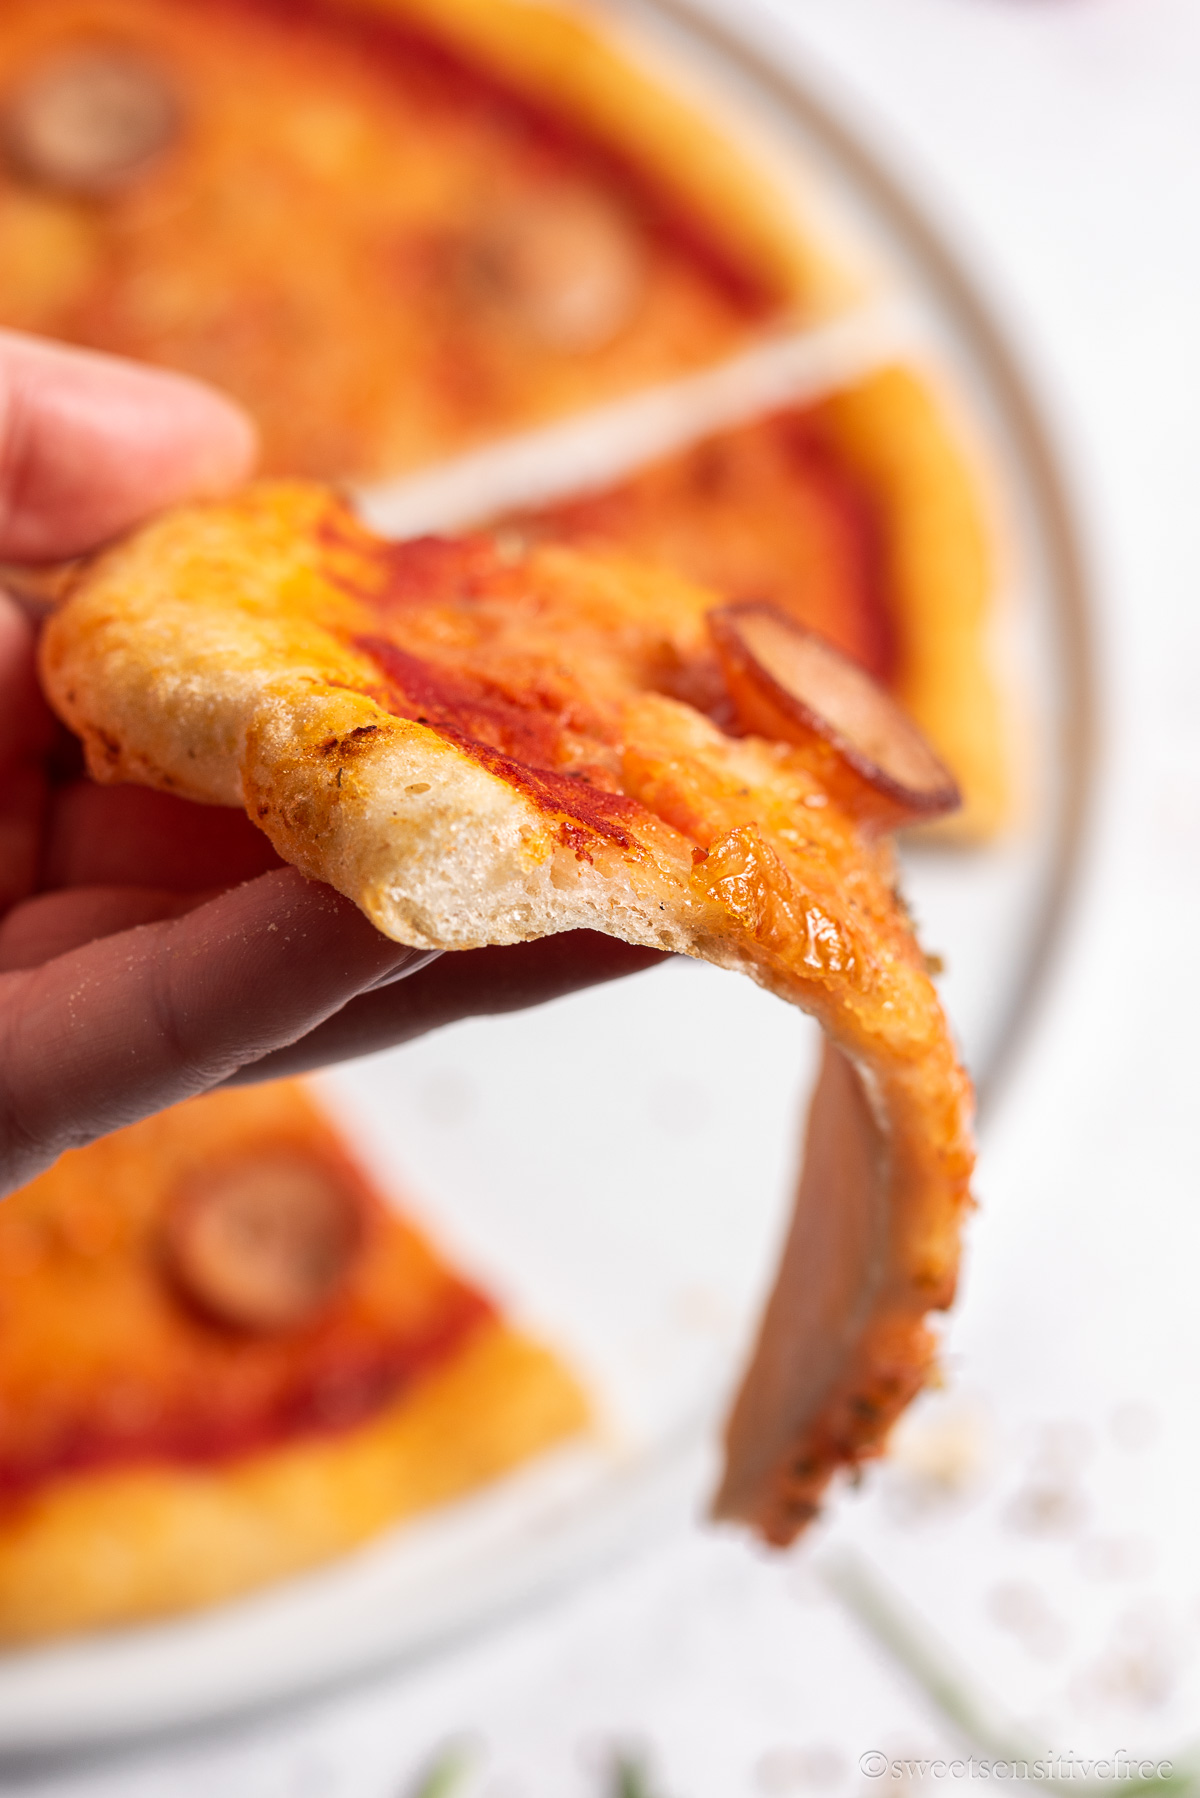
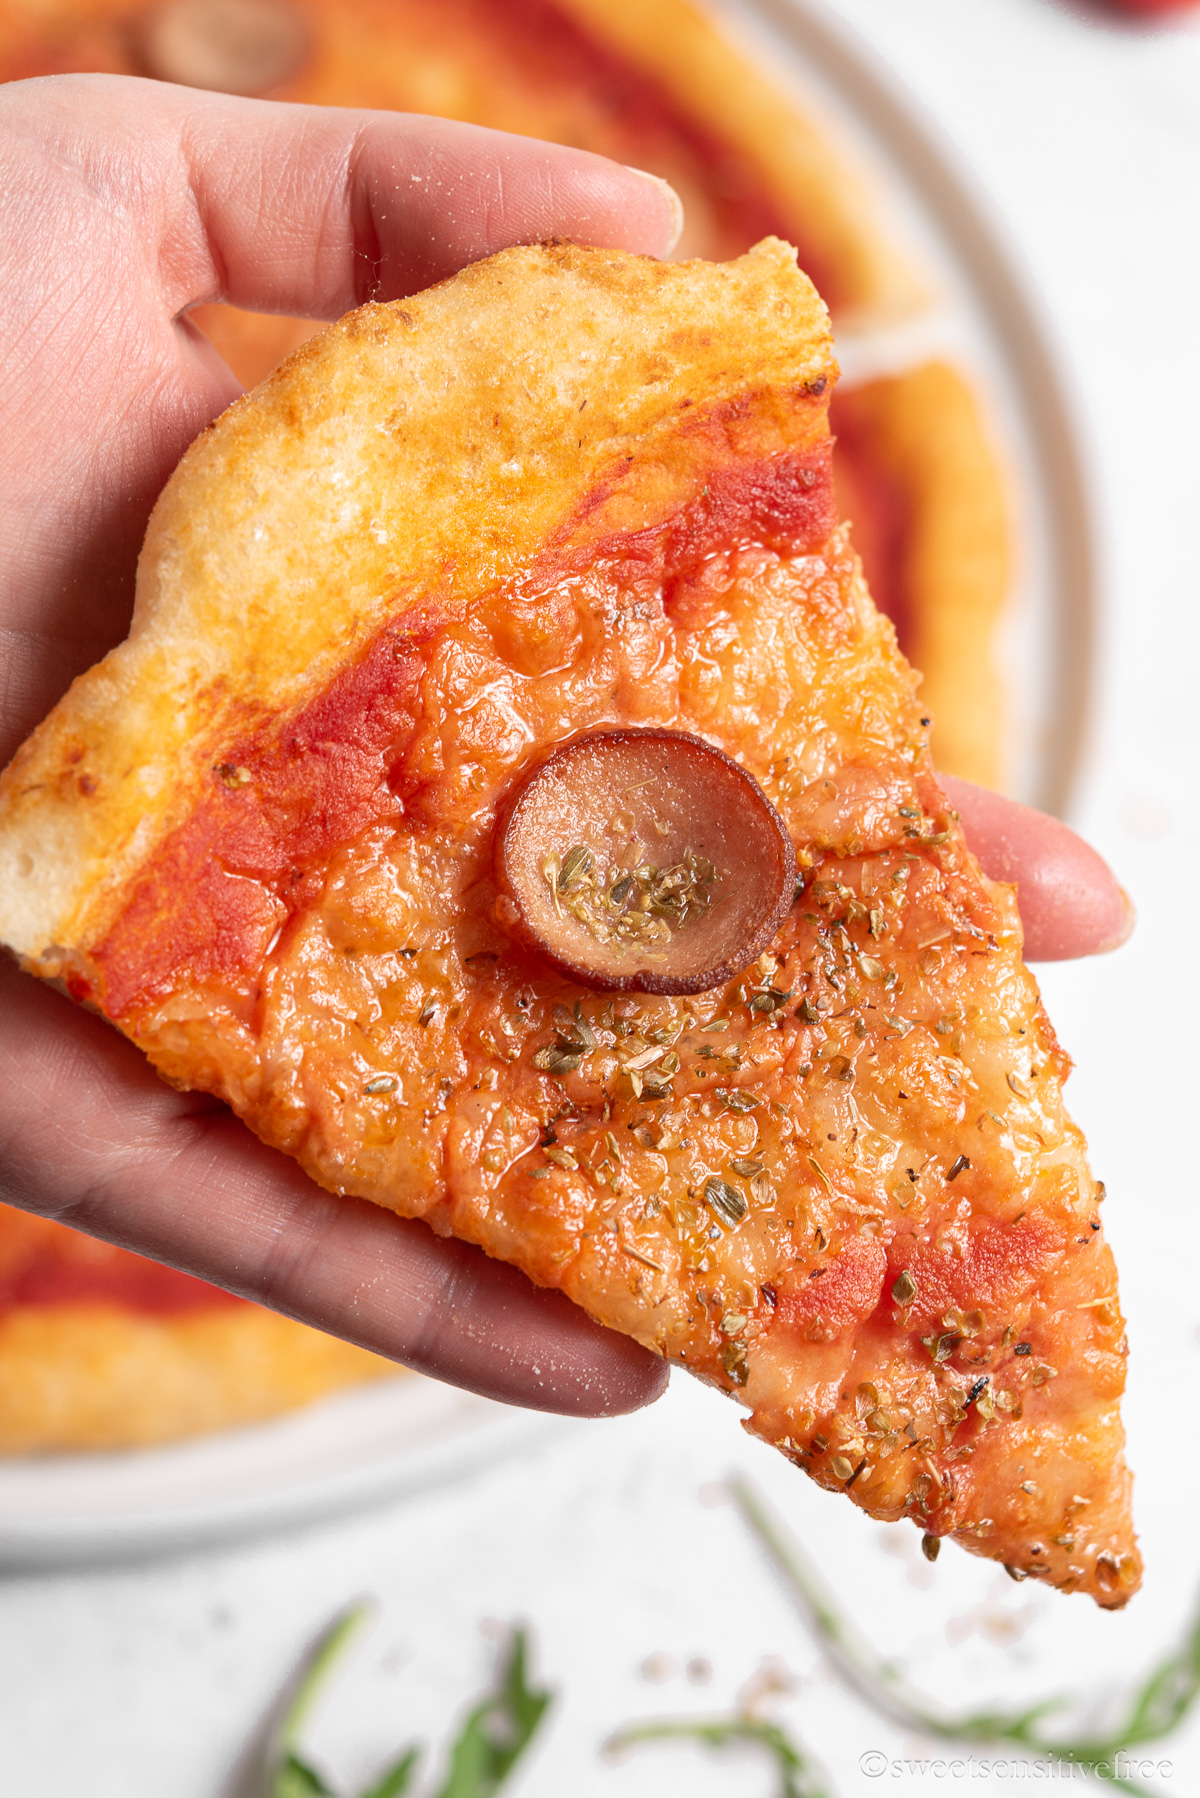
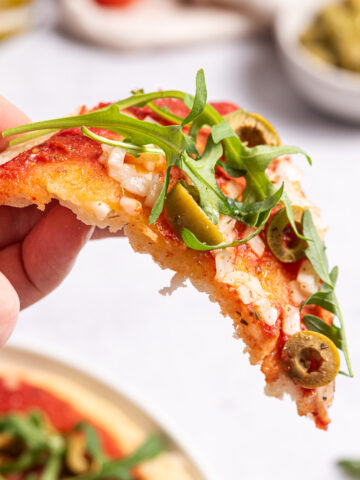
- ready in less than 3 hours start-to-finish, this gluten free pizza is thin and chewy in the center and has soft and crispy crust all around!
When it comes to gf pizza, a few questions usually come up.
Well traditional pizza is not gluten free, as it is made with wheat flour. Gluten of course is what helps having a nice, crispy yet soft pizza crust. A result that is not as easy to obtain when making pizza gluten free.
Besides water, oil and yeast, gluten free pizza dough is oftentimes made with commercial flour blends, usually rich in sugar, salt and thickeners. Also they often contain corn (flour), which is becoming another very common allergen.
For all the above, I have worked on creating a pizza crust made from scratch, with simple ingredients and also corn free.
Pizza crust wouldn't have eggs usually, but I understand some recipes may use egg whites as a binder for gluten free flours and to have a softer crust.
This recipe is egg free, yet soft and delicious!
Ingredients
To make this gluten free thin crust pizza I picked simple ingredients that are easy to source:
- potato starch, I haven't tested the recipe with other gluten free starches, so I can't say for sure they would work in the same way
- brown rice flour and white rice flour, also for dusting
- psyllium husk, the coarse one, not the powder: psyllium helps give the dough structure and softness
- xanthan gum powder, this works as a binder and also gives elasticity to the dough
- active dry yeast
- sugar, or maple syrup (also honey, for a non-vegan pizza crust): this will help activate the yeast
- salt, I like to add it, but if you need or prefer to avoid it you can totally skip it
- extra virgin olive oil, this also helps to get a nice crispy crust
- water at room temperature.
How to make gluten free pizza
Making this gluten free pizza dough is pretty easy. Don't get scared by the several steps, I just wanted to be very thorough with the instructions, to make it as clear as possible!
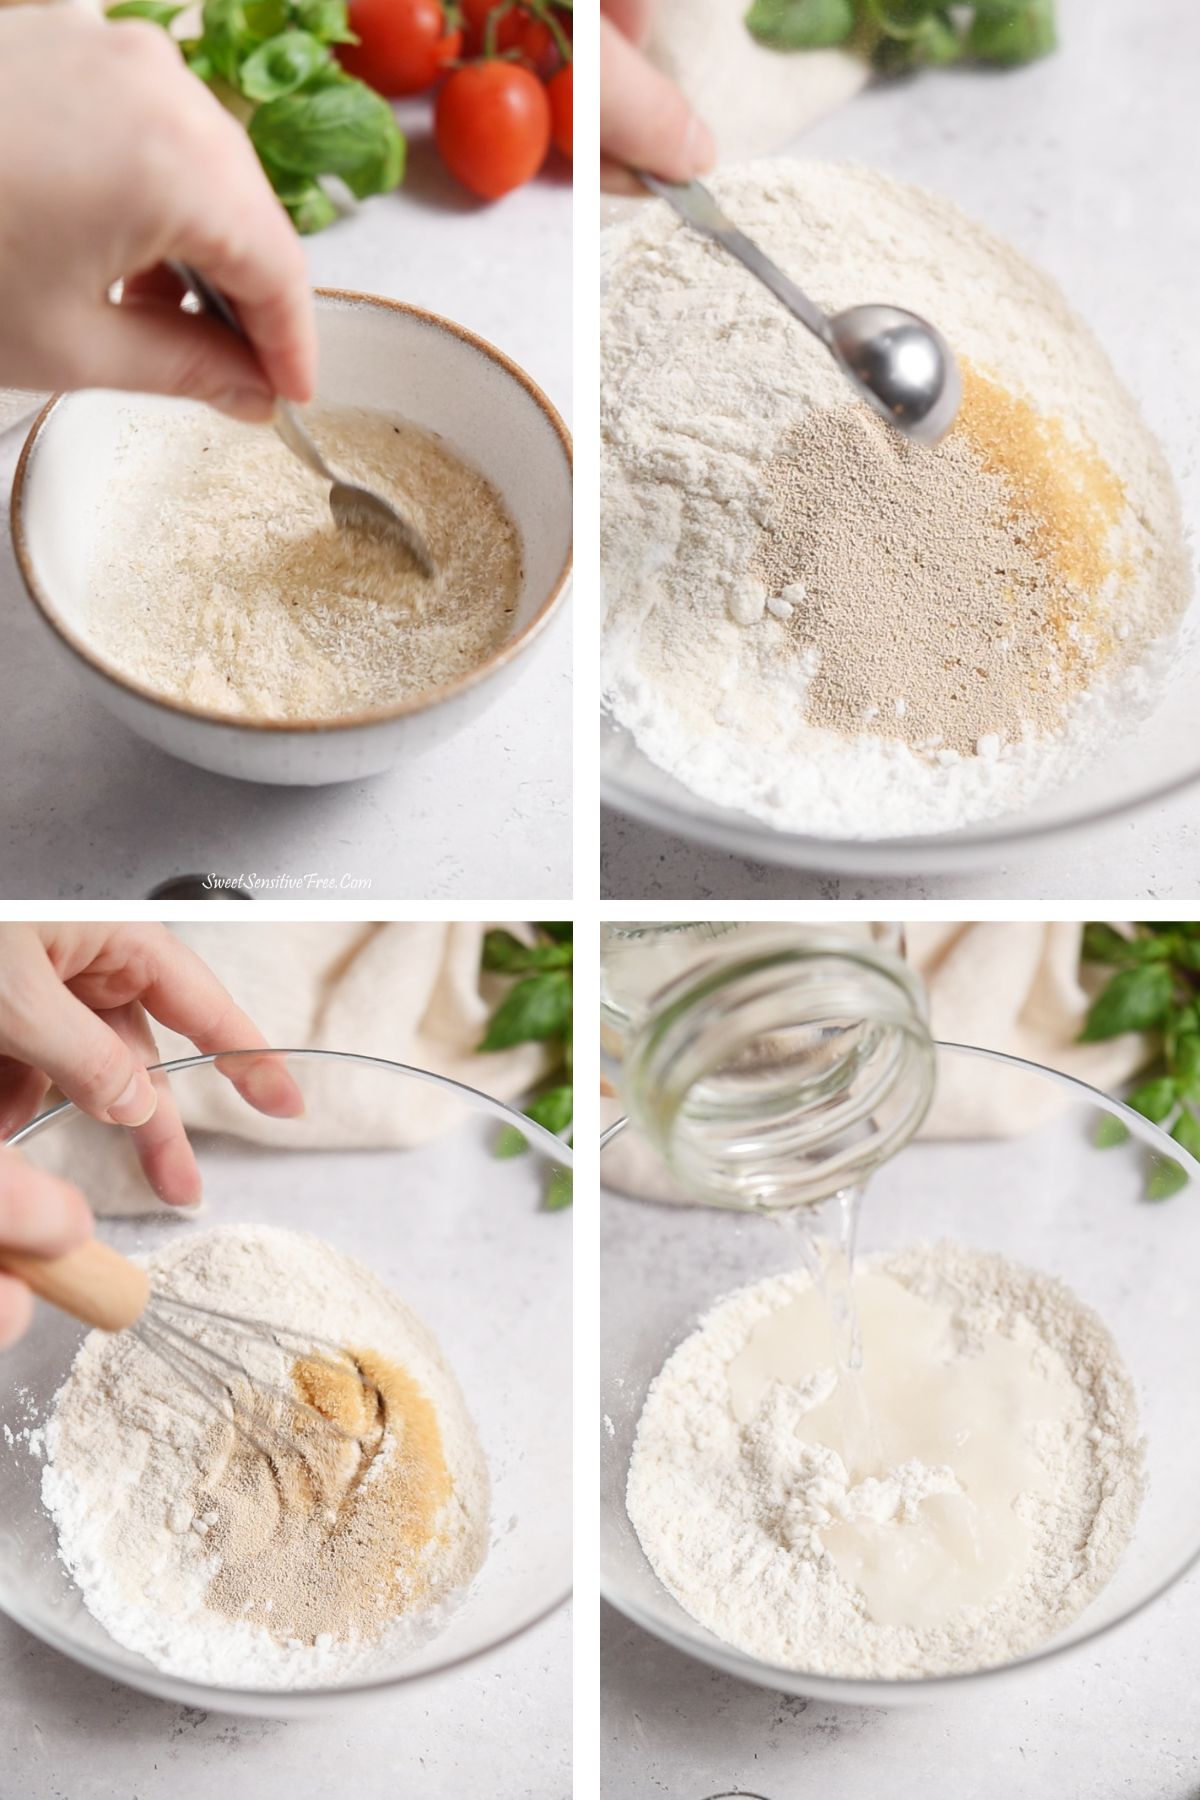
- In a small bowl mix the psyllium husk with water and let sit for 5 minutes or until it will have a jelly consistency
- in another bowl add potato starch, brown and white rice flour, xanthan gum powder, sugar (if using maple syrup, add it with the liquids in the next step) and yeast. Mix well
- add water
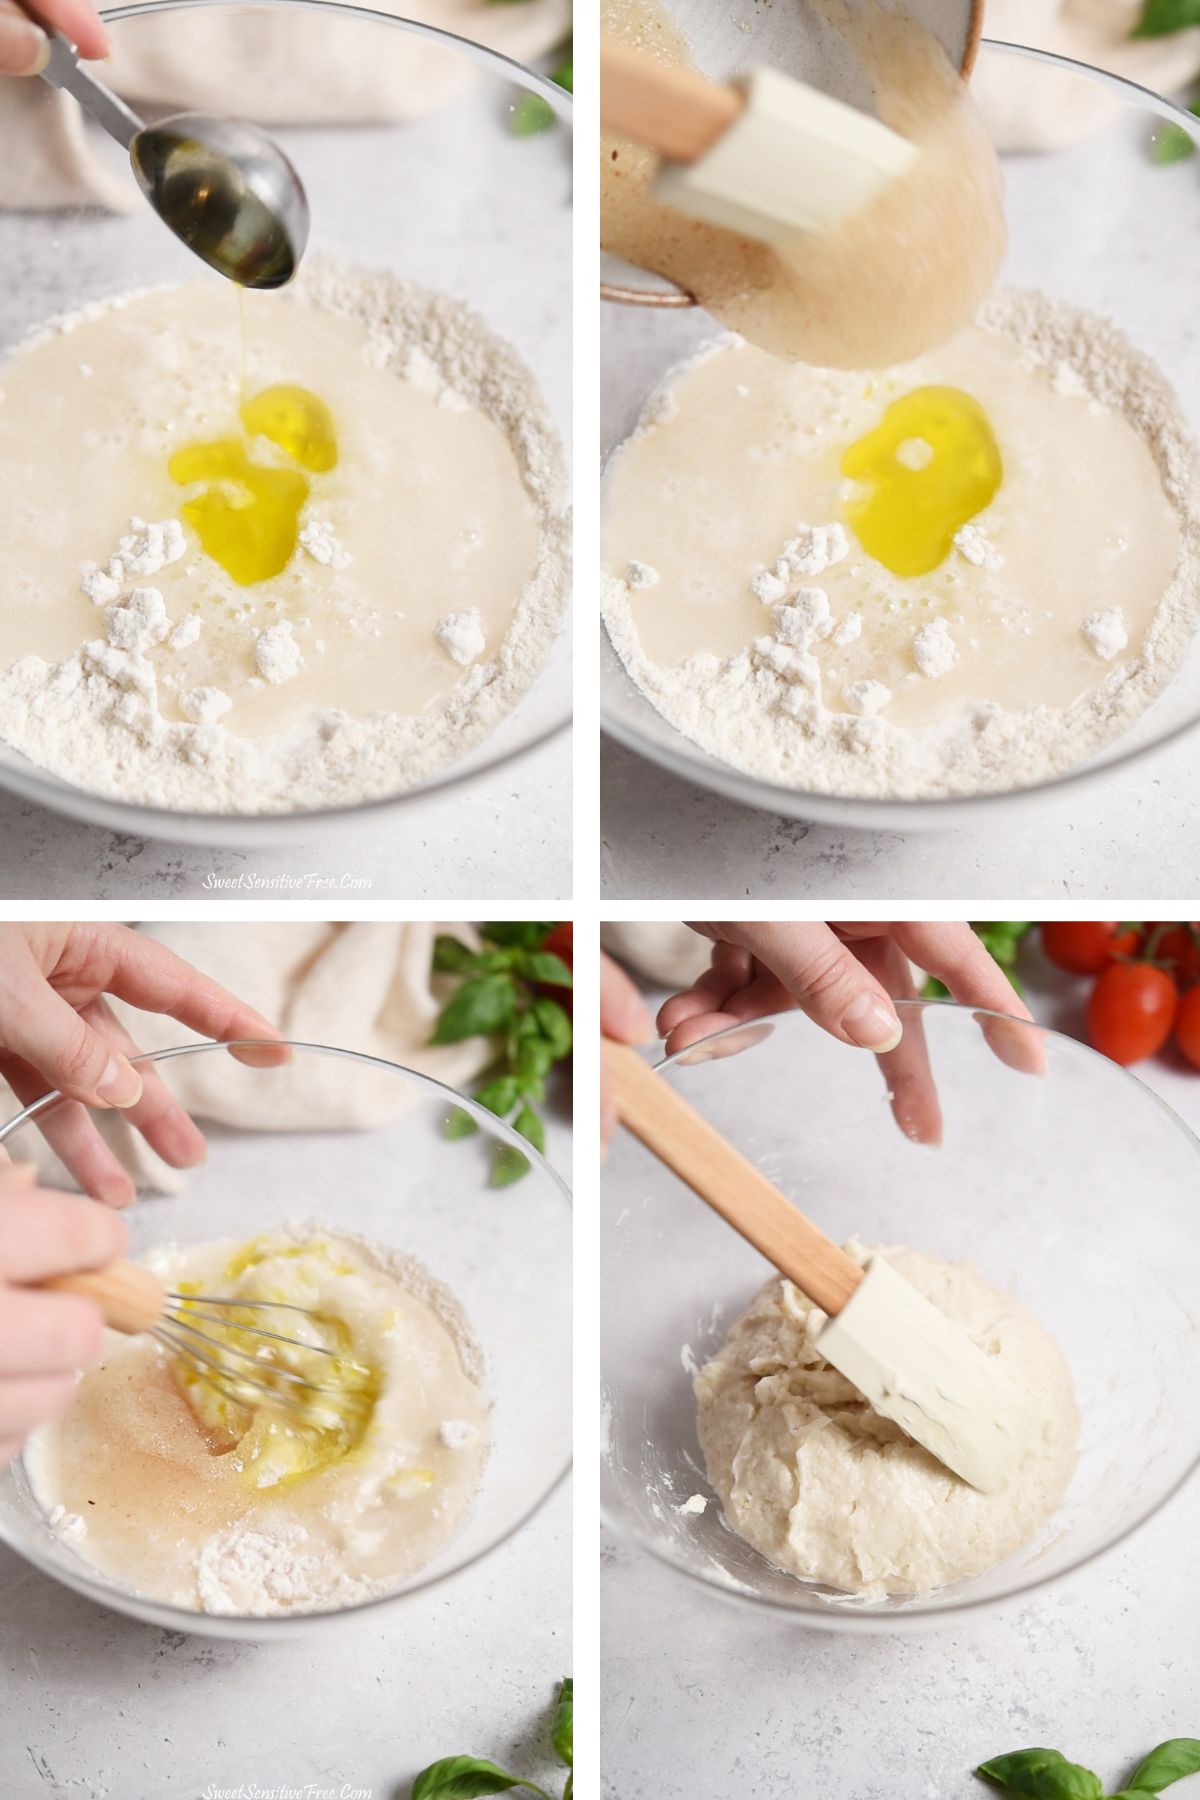
- add the olive oil and the psyllium husk mixture
- with a spoon thoroughly mix all the ingredients for 2-3 minutes, making sure all the dry ingredients are incorporated and there are no clumps in the mixture. If clumps form, press on them with the spoon to dissolve them and mix the batter again
- add salt, if using, and mix well
- you should get a very soft dough (not liquid or runny)
- using a spatula, press the dough from the outer edges to the centre to make it more compact
- drizzle with a tablespoon of olive oil, making sure it also goes under the dough
- cover with cling film and a towel and let rise at room temperature for 2 hours, until the dough doubles in size
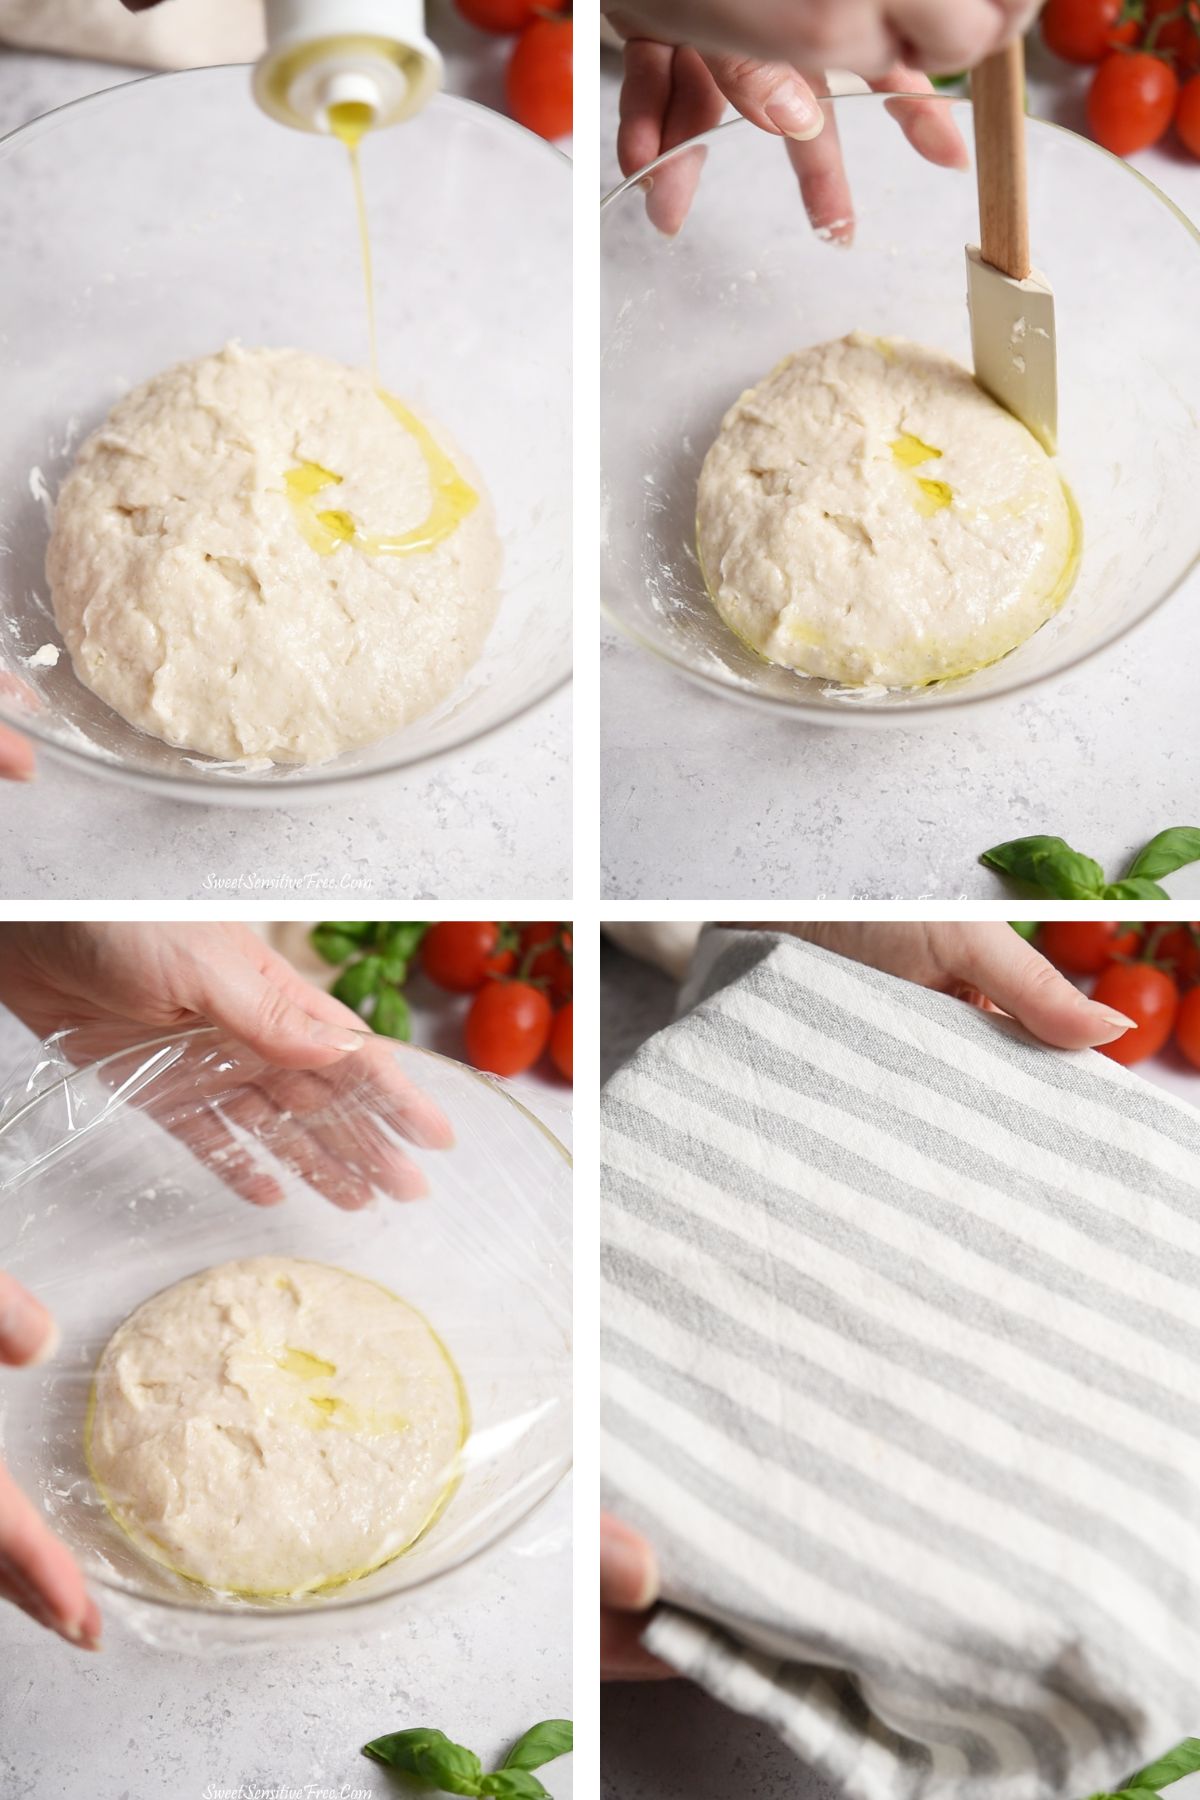
- place a baking sheet or a cookie sheet at the bottom of the oven (not on the lower rack, but directly on the oven surface) and pre-heat the oven at 230°C / 445 F for at least 30 minutes
- place a square of parchment paper on a worktop and dust it with white rice flour
- move the dough on the floured parchment paper: the dough should be soft and a bit sticky
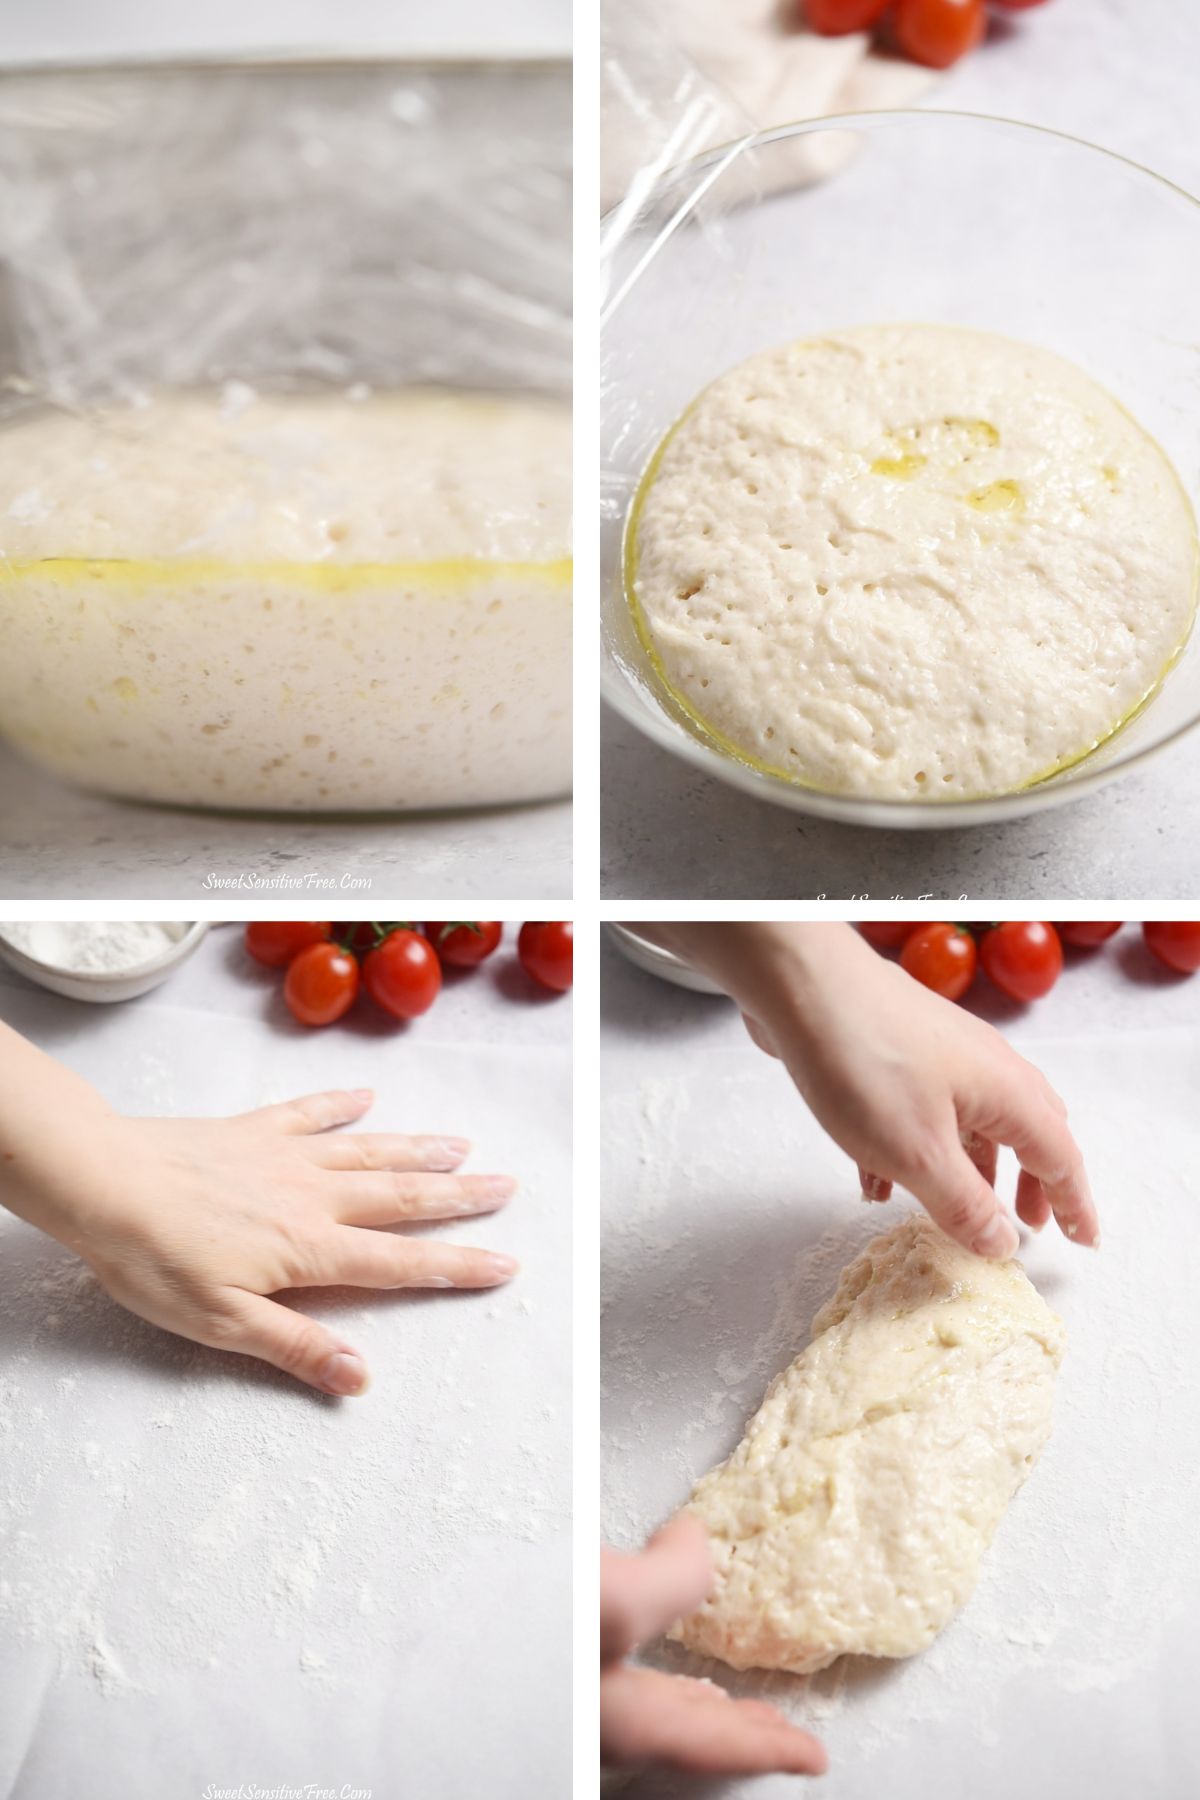
- dust the dough with a teaspoon of white rice flour and lightly press the dough together
- also use a spatula to "collect" the dough from the outside and lightly pushing it towards the inside
- add a bit more white rice flour and proceed to lightly kneeding the dough until it holds a round shape and is not sticky (don't overdo with the rice flour or the dough might become too "dry")
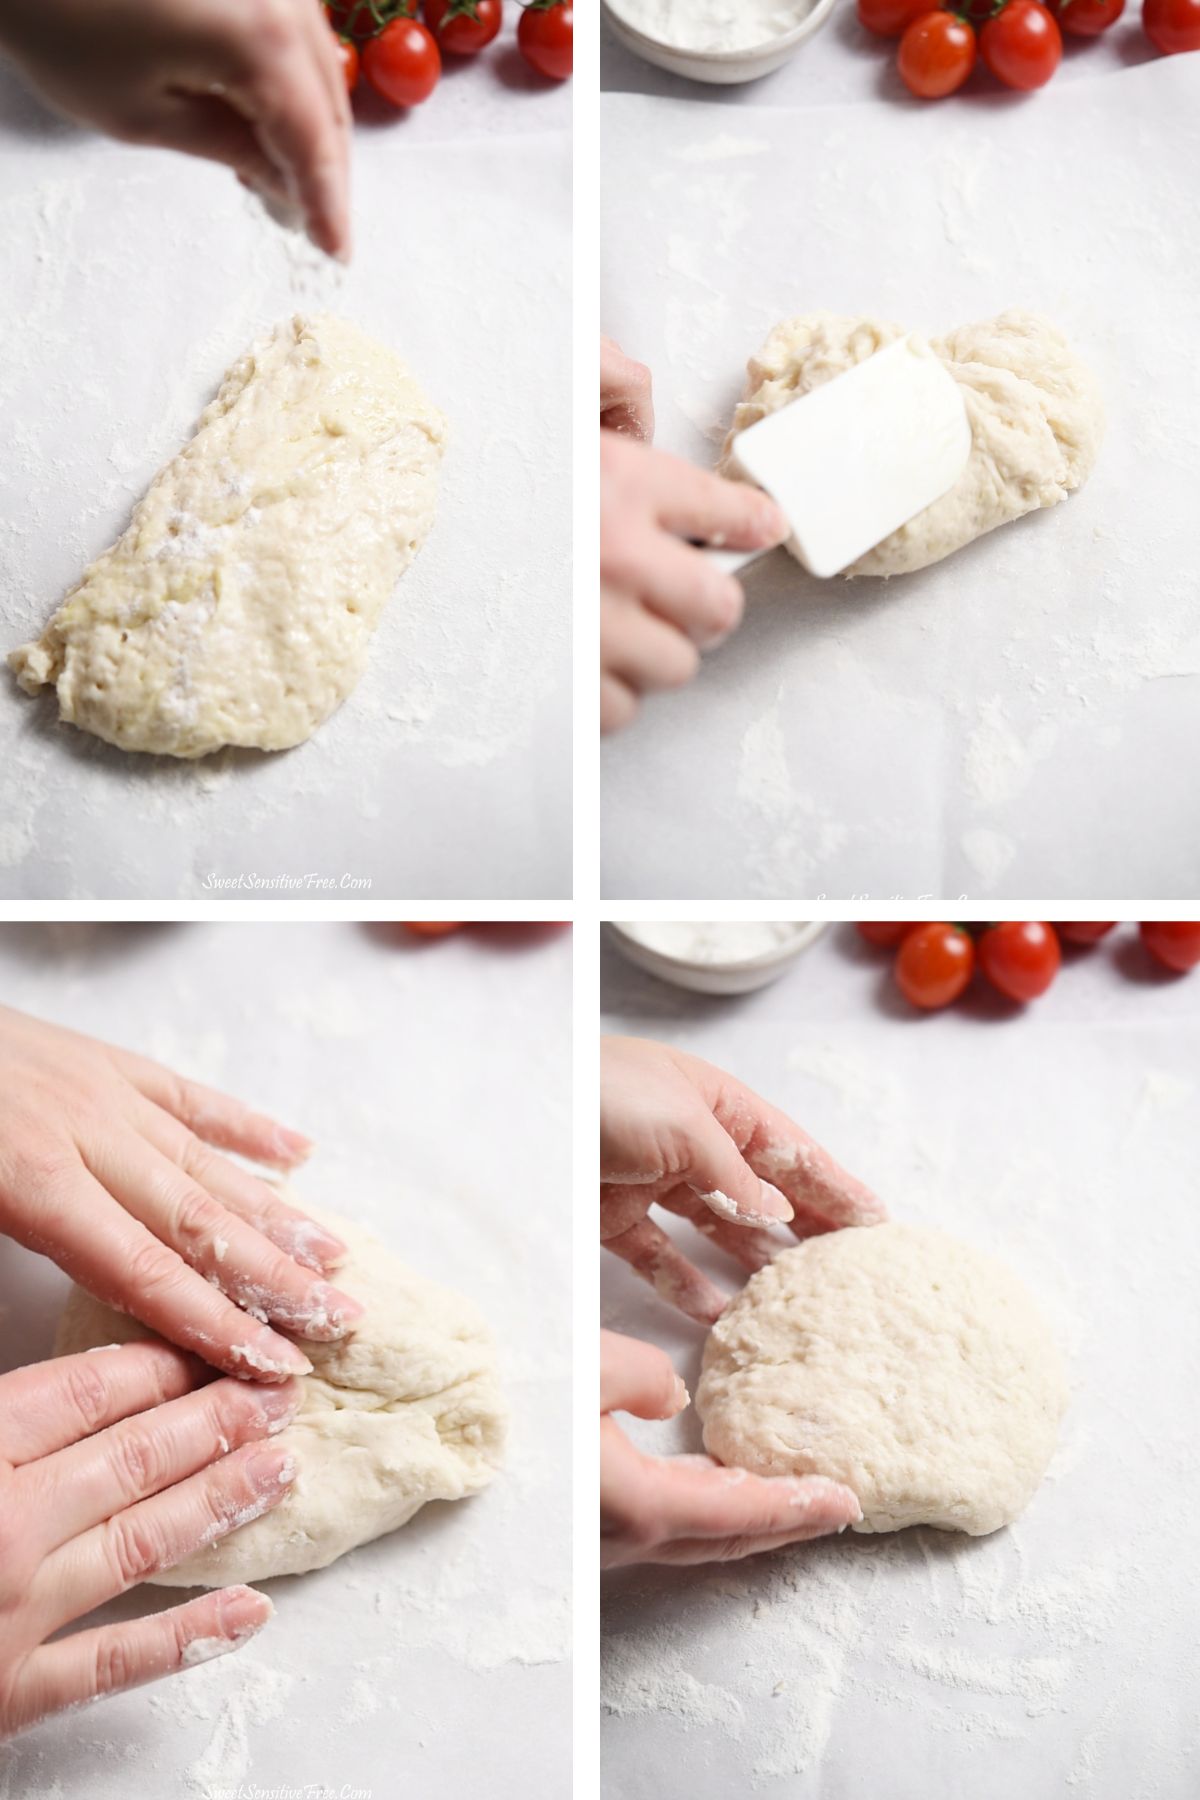
- always working on the floured piece of parchment paper, lightly and carefully press the dough with your fingers, starting from the center towards the outer edge
- keep going until you have a 30 cm/12 inch diameter disk
- a few moments before baking, cover the crust base with your favorite pizza sauce, leaving out a good half inch at the edges
- top with your favorite ingredients and lightly brush the edges with olive oil
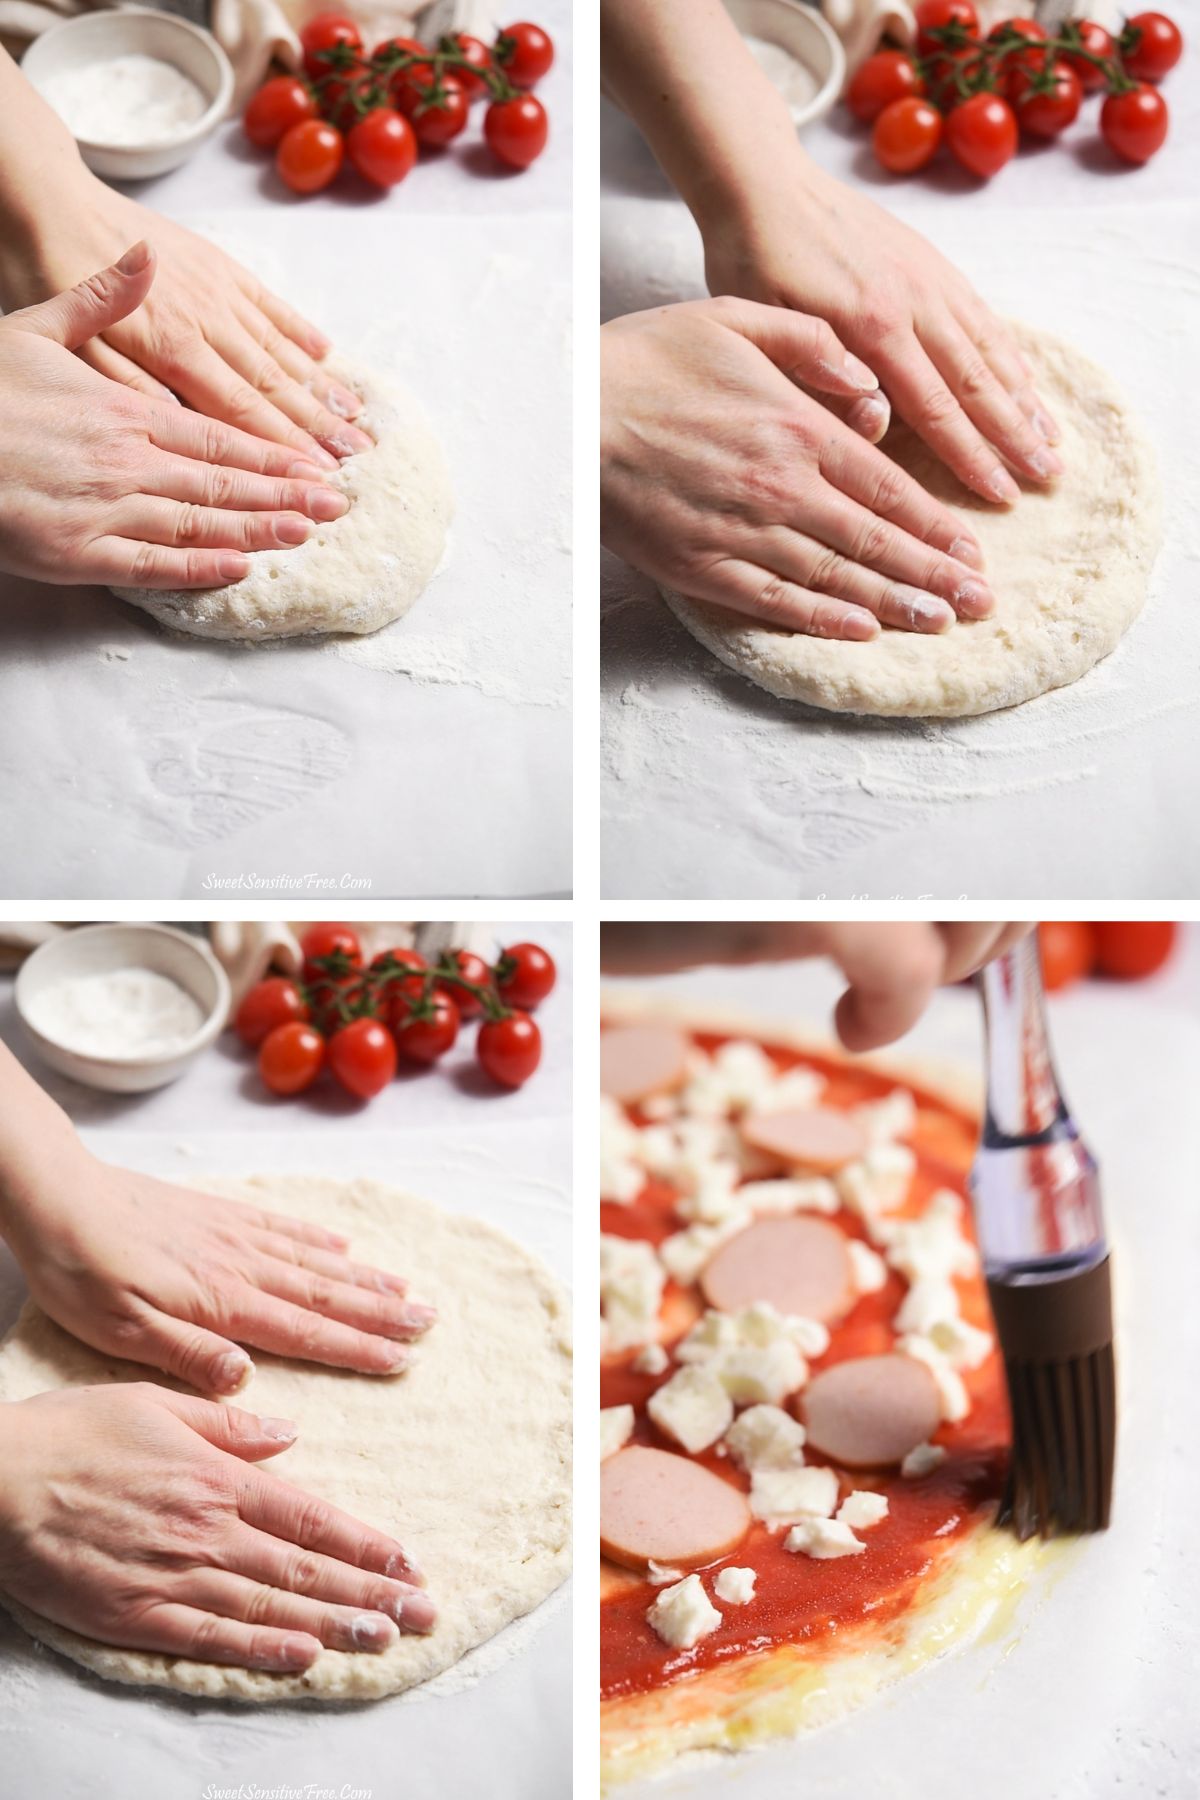
- using a mitten, remove the baking/cookie sheet from the oven
- without removing it from the parchment paper, carefully slide the pizza on the baking sheet and place it back at the bottom of the oven
- let bake for 10-12 minutes: the bottom of the dough and the crust edge should get lightly golden
- move the baking sheet with the pizza on the middle rack in the oven and let cook for another 2-3 minutes, or until the pizza crust has a nice golden/browned color and the toppings are nicely baked (and cheese is melted, if using)
- plate and enjoy right out of the oven!
Baking and cooking in grams
I cook and bake in grams as they are more accurate (than cups) when measuring ingredients. This is especially important when it comes to gluten free and vegan recipes.
Also, I weigh both dry and wet ingredients in grams and most of the time I share one- or two-bowl recipes, to make everything easier for you.
A simple affordable kitchen scale is definitely a useful and worthy investment for your gluten free cooking.
So you will simply need to place the bowl on the scale and weigh ingredients as you go!
If you make this recipe or have questions, leave me a comment down here! And a 5 star rating if you have loved it would help me grow the blog 😉
For all the updates, follow me on Pinterest and Instagram and tag me if you make this or any of my recipes! I absolutely LOVE to see what you make and share it in my stories!
Ciao!
Sonia
📖 Full Recipe

Thin and Crispy Gluten Free Pizza Crust (Corn free)
Equipment
- kitchen scale
- small bowl
- bowl
- spoon
- spatula
- parchment paper
- Baking / Cookie sheet
Ingredients
- 100 grams gluten free potato starch
- 40 grams brown rice flour
- 10 grams white rice flour (+ extra 2 tablespoons)
- 2 teaspoons (ca. 3 grams) coarse psyllium husk
- 60 grams water to mix with psyllium husk
- ½ teaspoon (ca. 1 gram) xanthan gum powder
- 1 teaspoon (ca. 3 grams) active dry yeast
- 1 teaspoon sugar (or maple syrup or honey)
- ½ teaspoon salt (optional)
- 1 tablespoon extra virgin olive oil for the dough (+ 1 tablespoon for the rising)
- 80 grams water, room temperature (for the dough)
Instructions
- In a small bowl mix the psyllium husk with water and let sit for 5 minutes or until it will have a jelly consistency
- in another bowl add potato starch, brown and white rice flour, xanthan gum powder, sugar (if using maple syrup, add it with the liquids in the next step) and yeast. Mix well
- add water
- add 1 tablespoon of olive oil and the psyllium husk mixture
- with a spoon thoroughly mix all the ingredients for 2-3 minutes, making sure all the dry ingredients are incorporated and there are no clumps in the mixture. If clumps form, press on them with the spoon to dissolve them and mix the batter again
- add salt, if using, and mix well
- you should get a very soft dough (not liquid, not runny)
- using a spatula, press the dough from the outer edges to the centre to make it more compact
- drizzle with a tablespoon of olive oil, making sure it also goes under the dough
- cover with cling film and a towel and let rise at room temperature for 2 hours, until the dough doubles in size
- place a baking sheet or a cookie sheet at the bottom of the oven (not on the lower rack, but directly on the oven surface) and pre-heat the oven at 230°C / 445 F for at least 30 minutes
- place a square of parchment paper on a worktop and dust it with white rice flour
- move the dough on the floured parchment paper: the dough should be soft and a bit sticky
- dust the dough with a teaspoon of white rice flour and lightly press the dough together
- also use a spatula to "collect" the dough from the outside and lightly pushing it towards the inside
- add a bit more white rice flour and proceed to lightly kneeding the dough until it holds a round shape and is not sticky (don't overdo with the rice flour or the dough might become too "dry")
- always working on the floured piece of parchment paper, lightly and carefully press the dough with your fingers, starting from the center towards the outer edge
- keep going until you have a 30 cm/12 inch diameter disk
- a few moments before baking, cover the crust base with your favorite pizza sauce, leaving out 1 cm / half inch at the edges
- top with your favorite ingredients and lightly brush the edges with olive oil
- using a mitten, remove the baking/cookie sheet from the oven
- without removing it from the parchment paper, carefully slide the pizza on the baking sheet and place it back at the bottom of the oven
- let bake for 12 minutes: the bottom of the dough and the crust edge should get lightly golden
- move the baking sheet with the pizza on the middle rack in the oven and let cook for another 2-3 minutes, or until the pizza crust has a nice golden/browned color and the toppings are nicely baked (and cheese is melted, if using)
- plate and enjoy right out of the oven!



Samatha says
Finally I too can enjoy a good pizza as my family. I love making this pizza and top it with lots of veggies and vegan mozzarella